Showing posts with label VersaMarker. Show all posts

Wednesday, September 2, 2015

Wicked Wednesday Strolls Down Vera Lane

It's Wicked Wednesday ATC Challenge Blog time and this week our sponsor is Vera Lane Studios.  I love how quirky and fun the Vera Lane images are for creating.  Since the owner, Janet, was so generous with the Design Team, we each did multiple ATCs.  I've used the following sets:  Whimsical Mermaid, Quirky Zombie Couple and Cat, and Whimsical Princess and Frog.  Our theme this week is  Splatters and Sprays.  I'm not going to follow my usual format this week but I will list the basic supplies used.

Zombie Cat Outside

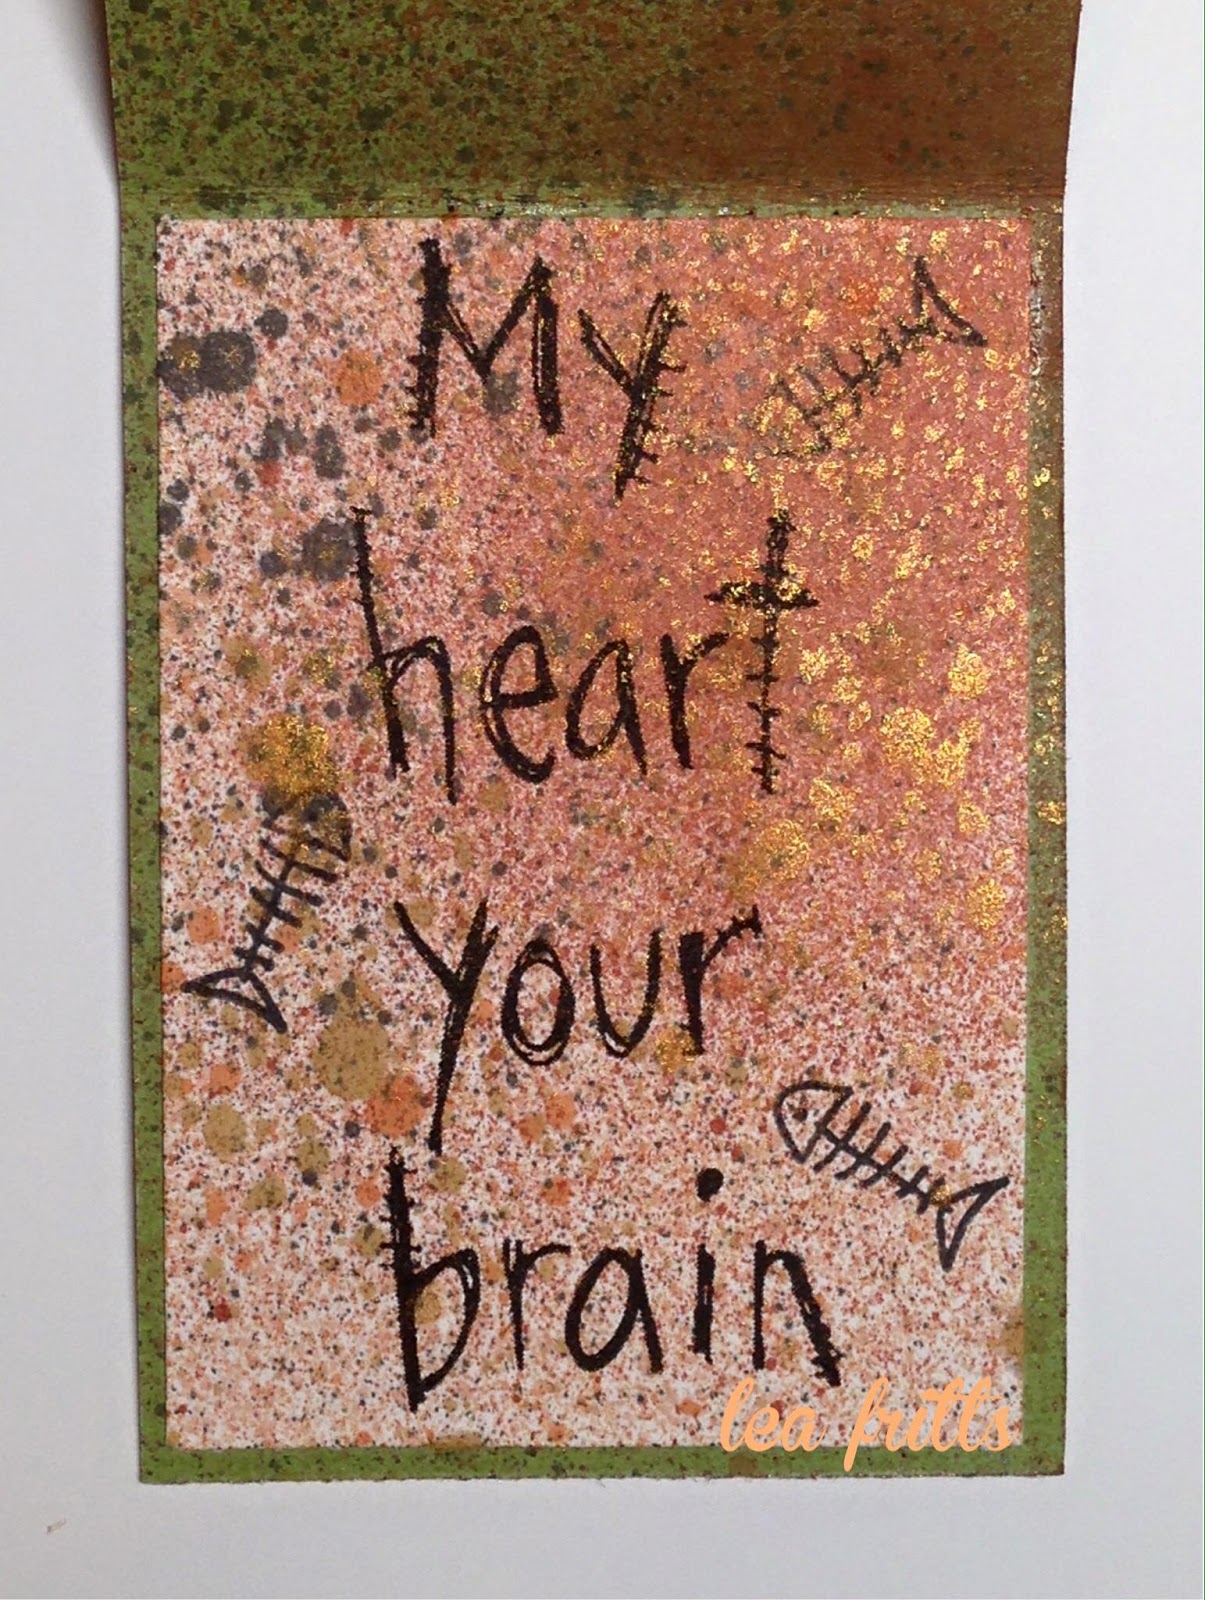
Zombie Cat Inside

Whimsical Princess and Frog

Whimsical Mermaid

These are the products I've used for all three ATCs:

Memory Box® Viola 6x6 Paper Collection
Copic® Markers
Delicata™ Golden Glitz Ink Pad by Tsukineko®
Viva Decor® Pearl Pen™ in Ice White
Artist Loft™ Watercolors
atyouSpica™ Glitter Pens
Green, Purple and Blue Cardstock by Bazzill Basics Paper®
Zip Dry™ Paper Glue by Beacon Adhesive

That's quite a list of supplies!  LOL!  Thanks so much for stopping by today.  I hope you enjoy my projects, I had a lot of fun creating them.  Come and play along with us and show us your best ATCs, I can't wait to see what you create!  Have a blessed day!  

Hugs,
Lea


Thursday, March 19, 2015

From Winter to Spring

Ready for fresh air, sunshine, new leaves, and flowers blooming? Well, the Dream Team is right there with you! Our challenge for the month of March is...coincidentally...Marching into Spring. Per usual, we'd love to have you play along with us, and link your own creations to the Inlinkz tool on the Dream It Up! blog, or at the bottom of this post. Play as many times as you'd like. Those of you who work Dreamweaver and/or Stampendous products into your projects receive bonus points, but everyone has an opportunity to be the winner who receives the stencil of their choice.

Here's my hint of Spring where I've marched from Winter into Spring:


Here's what I used to create this card:

Neenah® Classic Crest™ Solar White Cover Stock
Limeade Cardstock by Bazzill Basics Paper®
Tim Holtz® Tumbled Glass Distress Ink
Tim Holtz® Faded Jeans Distress Ink
Tim Holtz® Gathered Twigs Distress Ink
Tim Holtz® Mowed Lawn Distress Ink
Archival Ink™ Dandelion Refill by Ranger®
Copic® Markers:  YG01, 03, 05, 07, 09; G07, 09, 28, 40, 43; B32, 34, 37, 39; BG000; Y11, 13 17, 19; R14, 17, 29, 46, 56, 81, 83, 85; YR00, 01, 02; V12, 15, 17; BV01, 02, 04
Beacon® 3-in-1 Advanced Craft Glue

Here's what I did to create this card:

Create an A2 horizontal card base with a tent fold
Stamp images, color and trim as shown
Stamp additional set of images and create a mask for each image
Adhere masks to images and apply distress inks
Paste emboss snowflakes and allow to dry
Mix a small amount of translucent paste with a small drop of spray mist
Once snowflakes are dry, paste emboss rain and set aside to dry
Mix a small amount of white paste with a drop of yellow refill ink
Once rain is dry, paste emboss "sun" from center of Spiral Dots stencil
Using Boss Gloss™ and VersaMarker™, add white embossing powder and heat 
Stamp sentiment words with black ink
Adhere image to card base

The "A" team would love to share their interpretations of this theme:


Thanks so much for stopping by today.  I'll see you again tomorrow with another post for your viewing pleasure!  In the meantime, have a wonderful day!

Hugs, 
Lea


Friday, February 6, 2015

Got Heart?

It's all about love this week at Stampendous as we celebrate our theme of "Be Mine, Valentine."  It wouldn't be a Valentine without a heart so for my card today, I've used Gothic Heart.  I'm so in love with this gorgeous stamp!  It's perfect for creating a vintage or shabby chic Valentine for your special loved one.  Have you got heart?


This is what I used to create this card:

Stampendous® Gothic Heart
Stampendous® Vintage Note
Stampendous® Detail Copper Embossing Powder
Stampendous® Aged Copper Embossing Enamel
Stampendous® Tea Stained Mica Fragments
Stampendous® Boss Gloss Embossing Ink with Dauber
Stampendous® Jumbo Perfectly Clear™ Acrylic Handle

VersaMarker™ Pen by Tsukineko®
Cardstock by Bazill Basics Paper®
Union Square Paper by My Mind’s Eye™
StazOn™ Spiced Chai Midi Ink by Tsukineko®
Tim Holtz® Tea Dye Distress Ink by Ranger®
Hug Snug Seam Binding
Key Embellishment
Tim Holtz® Paper Distresser
Paintbrush
Heat Tool
Zip Dry™ Paper Glue by Beacon Adhesives


This is what I did to create this card:
  1. Ink heart stamp with Boss Gloss, stamp on patterned paper, add a mix of embossing powder and embossing enamel, heat.
  2. Trim patterned paper to desired size, distress edges, brush on distress ink, mist corners, roll with paint brush, heat to set curl.
  3. Create card base for a standard A-2 card with a tent fold.
  4. Trim patterned paper for background as shown, stamp word stamp over design with StazOn, distress edges, brush on distress ink around edges, mist corners, roll slightly with paint brush, heat to set curl.
  5. Cut strip of seam binding and dye with distress ink, heat to dry, cut a piece about 3″ in length off and set aside.
  6. Knot ribbon on right side and wrap ends around background paper and adhere to back.
  7. Adhere background paper to card base.
  8. Adhere embossed heart piece to card.
  9. Using VersaMarker, add ink around edges in a random manner, add copper embossing powder, heat.
  10. Add glue to attach mica flakes as shown, shake off excess flakes.
  11. Using additional piece of dyed ribbon, attach key to ribbon
I really enjoyed creating this card.  I love doing the vintage style cards with the cool mica fragments and embossing powders scattered here and there.  I find them very inspiring artistically.  

Thanks for stopping by today!  I'll see you next week with more fun creations designed to provide you with a little inspiration.  Have a wonderful weekend!

Hugs,
Lea

Thursday, November 20, 2014

Seasonal Stamping With Stampendous and Spellbinders

If you're looking for my Dreamweavers Stencils post, please click here!  Thank you!


Welcome to the Spellbinders and Product Partners Holiday Blog Hop.
W
e are so excited to have you join us!

For the next three days Spellbinders and their Product Partners will be showcasing projects for the holidays. To view all of the great projects you’ll want to start at the Spellbinders blog. We are promoting each day of the blog hop, so we decided to share extra projects from our designers! You’ll find those here.  Here's my project for today:


Here's what I used to create this card:

Little Yellow Bicycle® Winter Twig Collection - Snowy Window
Light Blue Cardstock by Bazzill Basics Paper™
Neenah® Classic Crest™ Solar White Cover Stock
Memento™ Teal Zeal Dew Drop
Zip Dry™ Paper Glue by Beacon® Adhesives

Here's what I did to create this card:

Run dies through white and light blue cardstock
Adhere top die onto light blue die cut shape
Using VersaMarker™, apply ink to "ground," add embossing powder and heat
Sprinkle white embossing enamel on "sky" portion of die cuts and heat 
Create 5" x 5" card base with a tent fold from light blue cardstock
Trim patterned paper to fit on background as shown
Adhere die cut to patterned paper
Trim ribbon piece to fit and adhere as shown
Stamp sentiment with blue ink on white scrap, trim light blue mat and adhere the two pieces together, attach to card with 3D Foam Squares

Do you feel like there should be… Prizes? Oh yes, there are plenty of prizes. Spellbinders has compiled a fantastic giveaway package for each day consisting of three brand new Spellbinders dies/templates plus product from that day’s Featured Partners! Details and Official Rules can be found here.
We will also have a a prize package here on the Stampendous blog, and we bet other Product Partners will be doing the same, so visit them all each day!


Our prize package each day will be a Jumbo Penguin Duo stamp set and a Jumbo Perfectly Clear Handle, PLUS a set of Spellbinders greeting dies! To be eligible to win our Stampendous prize package, you need to comment on our blog that of each Stampendous designer in the list provided below. We’ll pick a winner each day (3) and announce them on Monday, November 24th. Eligible winners are those comments that provide a valid email and indicate a U.S. Mailing address. Here are the Stampendous Official Rules for all contests. So hop around and check them out!!


Thanks for stopping by today!  I hope you've enjoyed our Holiday Blog Hop with Spellbinders and Partners.  I'll see you again soon!  Have a wonderful day!

Hugs,
Lea

Friday, October 24, 2014

Pumpkin Ride and Some Cool Jewelry

Happy Friday!  Today I have a post for Stampendous that has a fun Halloween card and two pieces of jewelry made from bezels by HHH Enterprises, so, this post may be a little longer than most.  We're celebrating all the fun pumpkins and jack-o-lanterns from Stampendous this week and I'm sharing a card I created for the catalog using Pumpkin Ride.  I love this sassy little girl!


Here's what I used to create this card:

Stampendous® Pumpkin Ride
Memento™ Tuxedo Black Ink by Tsukineko®
Doodlebug Design, Inc™ Haunted Manor™ Collection’s “Tombstone” and “Gallery of Ghouls” Patterned Papers
Copic® Markers (E50, E51, E53, E21, E93, E25, E27, E29, E35, E37, V12, V15, V17, YG00, YG01, YG03, YR14, YR16, YR18, YR23, YR24, YR27, Y15, Y17, C0, C1, C3, C6, C7)
May Arts Ribbon®
Zip Dry™ Paper Glue by Beacon Adhesives®
Glue Dots®
Cardstock by Bazill Basics Paper®
Neenah® Classic Crest™ Solar White Cover Stock

Here's what I did to create this card:
  1. Stamp image and color with markers
  2. Trim image to desired size
  3. Create standard A-2 card base with a tent fold
  4. Trim patterned papers as shown
  5. Adhere layers as shown
  6. Tie bow and attach as shown
 Next up I have a simple leaf bezel in an antique gold finish.  This was, by far, the easiest jewelry project I've ever done!  I sure do like the results!

Here's what I used to create this project:


HHH Enterprises® 28mm Pewter Leaf Bezel Pendant, Vintage Gold
Stampendous® Paprika Opaque Embossing Powder

Stampendous® Honey Opaque Embossing Powder
Stampendous® Olive Opaque Embossing Powder
Stampendous® Caramel Fragments
Stampendous® Ochre Fragments
Fast Finish™ by Beacon Adhesive®
VersaMarker™ Watermark Ink Pen
May Arts Ribbon®
Miscellaneous Twine

Here's what I did to create this project:


  1. I scribbled on the inside of the bezel with the VersaMarker
  2. Next I sprinkled on embossing powder in small sections
  3. Heat embossing powder until all has melted
  4. Sprinkle on some fragments
  5. Cover fragments with Fast Finish, set aside to dry
  6. Once dry, thread ribbons through and tie


Okay, I have one more project to share with you.  I hope you aren't falling asleep yet!  This one is really fun.  One of the coolest things about this project, I can switch out the contents whenever I want to!  I can change it for seasons, holidays or occasions, whatever suits my needs.  This is a round shadow box pendant-locket so I can open it up with the flip of a hinge!


Here's what I used to create this project:

Tim Holtz® Distress Ink® in Spiced Marmalade
Neenah® Classic Crest™ Solar White Cover Stock
Acetate Sheet
Fiskars® 1.5" Circle Punch
May Arts Ribbon®

Here's what I did to create this project:

  1. Punch out white cardstock piece
  2. Stamp images onto circle
  3. Ink circle with distress ink and place inside pendant
  4. Add in a pinch of fragments
  5. Punch out another circle with acetate piece
  6. Stamp bird image onto acetate and place in front glass and close
  7. Thread ribbon onto pendant


I tried to give you a close-up side shot of the pendant to show the bird but it's hard to see how it seems to be floating inside.  It looks really cool in real life.

Well, that's it for me today.  Sorry for the length but I wanted to get it all in on one.  Hope you have a wonderful day and a great weekend.  See you again soon!

Hugs,
Lea

Friday, March 28, 2014

Inspiration Winged Cross

This week at Stampendous®, we're featuring our beautiful cross images, I think these are perfect for the Easter season.  For my project, I've used Winged Cross.  I have to admit, it's my favorite!  I have a collection of angels and a collections of crosses so this kind of combines the two!  I've used the Fran•táge technique on this card with lots of crusties and texture.  It's so much fun to create this way!  So here's my card with details below:


Here's what I used to create this card:

Stampendous® R189 Winged Cross
Stampendous® Gold Encrusted Jewel Kit
Stampendous® Champagne PEARLustre™ Embossing Powder
Stampendous® Boss Gloss
VersaMarker™ by Tsukineko® Memento™ London Fog Ink by Tsukineko® 
Antique Linen, Pumice Stone, & Vintage Photo Distress Ink by Ranger®
Kraft Reflections Paper by Graphic 45® 
Clear Rock Candy Distress Crackle Paint by Ranger® 
Silver Bling Glamour Dust Paint by DecoArt® 
Copic® Markers - W1, W2, W4, W5, E33, E34, E35, E37 
Multi-Medium Matte by Claudine Hellmuth Studio 
ZipDry™ Paper Glue by Beacon Adhesives®


Here's how I created this card:

Stamp R189 Winged Cross on white with Memento Ink.
Color image with Copics.
Paint wings with Silver Bling paint, set aside to dry.
Trim image closely and distress edges with distresser tool.
Create card base from Bazzill in a tent fold and distress sides and bottom of front only.
Trim patterned paper to mat image and distress edges. 
Add antique linen distress ink all around image.
Add pumice stone distress ink around outer edges going in close to the image but not all the way.
Add vintage photo distress ink just to distressed edges of all papers.
Adhere image to patterned paper with Zip Dry and curl corners of image piece slightly.
Sponge Boss Gloss around card randomly and add Aged Gold EP and heat.
Using VersaMarker, outline swirls on image, add Champagne Pearl EP and heat.
Randomly sprinkle Aged Gold EP and heat from underneath.
Randomly dot on distress stain.
Adhere image and patterned paper to card base.
Add crackle paint to cross and let it dry.

That's it for today, I hope you've enjoyed my project and that it has inspired you to create your own!  Thanks for stopping by and I'll see you again soon.  Have a blessed day!

Hugs,
Lea