Showing posts with label #Faber-Castell. Show all posts

Wednesday, April 6, 2016

Wicked Wednesday with Miss Rach Digital Stamps

Hi everyone and Hoppy Spring!!  Our Wicked Wednesday ATC Challenge Blog sponsor this week is Miss Rach Digital Stamps and our theme this week is Garden Friends.  The image I've used is called Frog Love, isn't he just the cutest?


Here's a little video since I attached him with an Action Wobble® to the ATC!


Here's what I used to create this ATC:

Frog Love from By Miss Rach Digital Stamps©
Happy Greetings Perfectly Clear™ Stamps from Stampendous®
Action Wobble
Copic® Markers
Black PITT Artist Pen Big Brush by Faber-Castell®
Solar White Classic Crest™ Cover Stock by Neenah®
Grasshopper Cardstock by My Colors®
A Walk In the Park 6x6 Paper Pad from Echo Park®
Zip Dry™ Paper Glue by Beacon
3D Foam Squares from Scrapbook Adhesives® by 3L®

Here's what I did to create this ATC:

Print image, color and fussy cut.
Trim green cardstock for ATC base.
Trim floral patterned paper as shown and adhere to base.
Trim large square of patterned paper for image and adhere as shown.
Stamp the word Happy, replacing the "A" with the "O" from Thank You, onto patterned paper as shown.
Stamp the word Spring onto the same paper, trim both words and attach with foam squares.
Trim Action Wobble to fit back of frog and attach frog to ATC.

Thanks so much for stopping by today and I'll see you again soon!  In the meantime, have a wonderful day!

Hugs,
Lea

Friday, March 11, 2016

Stampendous, DecoArt & Andy Skinner


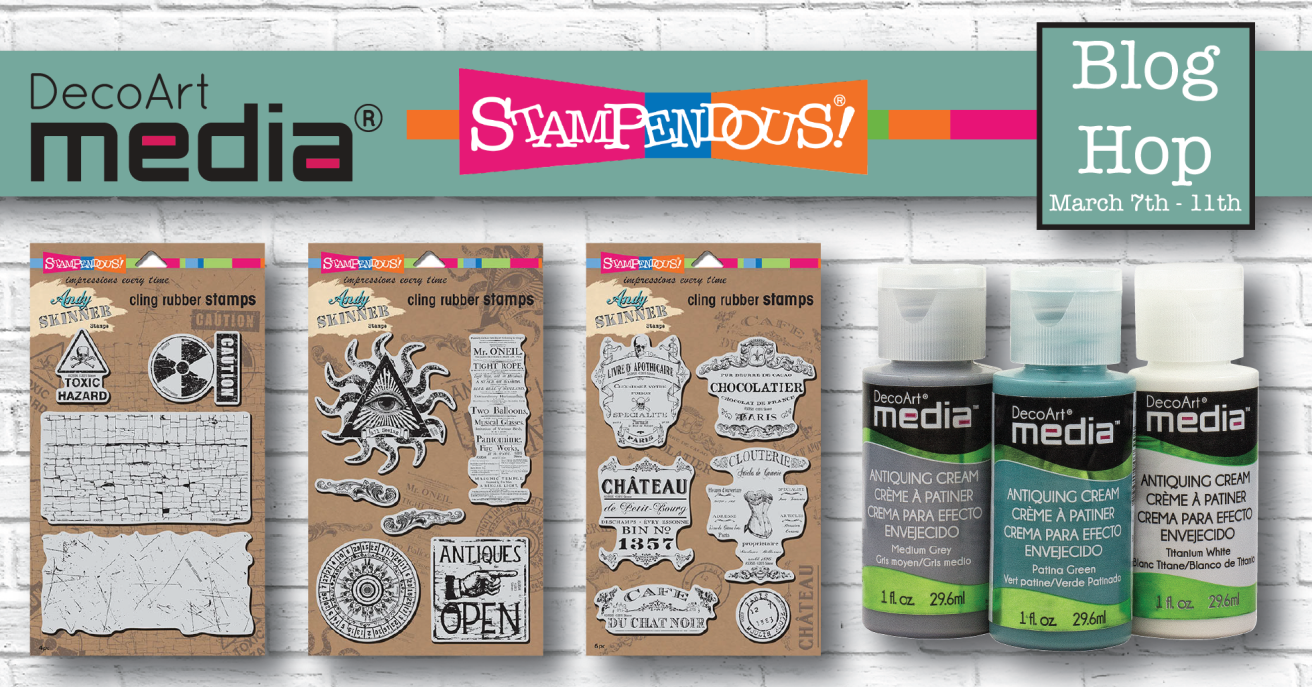
Welcome back!  Have you enjoyed this week of creativity with Stampendous and DecoArt?  I don’t know about you but I’m loving the stamps Andy Skinner has designed for Stampendous.   I’m almost sad that today is the last day of the collaboration, however, we’ll still be using all of these amazing products together.  

For today’s project I’ve made a sweet little sign I’m going to hang on a wall somewhere in my house, I just haven’t decided where yet.  This was one of those fun projects that all fell in place with looking at one stamp!  Those are my favs!  I painted several different layers onto my little 5”x7” canvas board.  I really wanted it to look like it’s been painted multiple times over the years, I think it does.  Sweet and simple!


Here’s what I used to create this canvas:

Copic® Markers - YR21, YR23, YR24; R30; C1, C4, C5, C6, C7
VersaFine™ Onyx Black Ink Pad by Imagine Crafts®
StāzOn™ Jet Black Ink Pad by Imagine Crafts®
StāzOn™ Ganache Ink Pad by Imagine Crafts®
Basic Grey® True Love Patterned Paper
Faber-Castell® PITT Artist Pen in Black
5”x7” Canvas Board

Here's a list of my teammates playing along today:


Lea Fritts (here)


You’ll want to get your commenting fingers ready…so put down your paintbrushes! Each comment on a post will enter you to win a fabulous prize package! (One comment per post, per person.)  This contest is open to everyone!!  We have three packages and each has a Fluid Media Starter Kit, all three of Andy Skinner’s new Stampendous Stamp Sets, and a Jumbo Acrylic Handle. This is a great prize package!


Thanks so much for stopping by today!  I hope you’ve really enjoyed this week.  Don’t forget to comment so you’ll be eligible to win.  Have a wonderful weekend and I’ll see you next week!


Hugs,
Lea

Thursday, March 10, 2016

Mixing It Up


Hello, hello!!  I’m beyond excited this week as the Stampendous Design Team is playing with our BFFs over at DecoArt!  As you probably already know, Andy Skinner has designed some amazing stamps for Stampendous.  What you might not know, Andy just happens to be the DecoArt International Education Coordinator.  How cool is that job!?

Andy and his band of merry mixed media artists are playing along with us, including Julia Stratford-Wright, Mark Gould, Mel Hookham, and Jools Robertson. Plus, there will be posts this week on the DecoArt blog, too.  Since, I know you’ve already been wowed by my teammates earlier this week, I hope today’s posts will be just as awesome!  I've prepared some step-out photos just for you!


Once stencil is taped down, sponge on ink in a random fashion.  I purposely did not cover the entire area the stencil covered.


Squeeze one drop of Diarylide Yellow Media Fluid Acrylic into Regular Embossing Paste. As you can see here, I've only used one drop of Fluid Acrylic.  Since they're so highly pigmented, it only takes one drop to get amazing color results.


Mix paste and paint thoroughly.


The paste is a little lighter than I wanted so I'm going to darken it some. 


 So, I've added a little drop of Cadmium Orange hue and mixed it up.  Notice, I've used the tiniest of drops to get the perfect color!


Here's my paste, the perfect shade I wanted and ready to spread! Because it takes so little paint to tint the paste, there's not much needed


Here it is, all pasted and drying!


In the meantime, I've stamped my images, created my card base, snipped a flower stem and cut out a leaf that I stamped my sentiment on!  Once my paste dried, I added some distress ink and layered it all to form my card!


So, here's my card with a rather fun and funky sunflower!

Here's the complete list of products I've used to create this card:

DecoArt® Media Fluid Acrylics™ in Diarylide Yellow and Cadmium Orange Hue
Memento™ Cantaloupe, Dandelion and Rich Cocoa Ink Pads by Imagine Crafts®
Vintage Photo ID Distress Ink™ by Ranger®
My Colors® Desert Cactus Cardstock
Faber-Castell® PITT™ Artist Pen in Green Gold
Scrapbook Adhesives® 3D Foam Mounting Squares by 3L®
Zip Dry™ Paper Glue by Beacon Adhesive


WE HAVE AWESOME PRIZES!!


You’ll want to get your commenting fingers ready…so put down your paintbrushes! Each comment on a post this week will enter you to win a fabulous prize package! (One comment per post, per person.)  This contest is open to everyone!!  We have three packages and each has a Fluid Media Starter Kit, all three of Andy Skinner’s new Stampendous Stamp Sets, and a Jumbo Acrylic Handle. Look at this great prize!

Here's a list of my teammates that are playing along today, be sure to leave them some love:


Thanks so much for stopping by today.  I'll have another project for you tomorrow so make sure to come back.  In the meantime, have a wonderful day, I'll see you again soon!

Hugs,
Lea

Wednesday, February 24, 2016

Wicked Wednesday with Bloobel Stamps

It's Wicked Wednesday ATC Challenge Blog and this week our sponsor is Bloobel Stamps and our theme is a color challenge using red, gray and turquoise!  Talk about fun and quirky, these images are awesome!  For my ATC, I've used is Telephone Time and I couldn't resist the little play on words, the "hello" IS on the other side, besides the obvious Adele reference!  Well, it made sense to me, anyway!


Here's what I used to create this ATC:

Neenah Classic Crest Solar White 
Miscellaneous Patterned Paper
Copic Markers
atyouSpica Gltter Pens
Teal Color Fragments by Stampendous!
Martha Stewart Washi Tape
Zip Dry Paper Glue by Beacon
Medium Point Black PITT Pen by Faber-Castell

Here's what I did to create this ATC:

Print image, color and trim closely
Write sentiment with black pen, add a slight shadow with silver glitter pen and underline "hello" with the red glitter pen.
Add two pieces of Washi Tape as shown.
Trim ATC base from turquoise patterned paper.
Adhere image to base.
Add some random dots of glue, sprinkle on fragments, allow glue to dry and shake off excess to return to jar.

Thanks so much for stopping by today to have a look.  We would love for you to play along on our challenge for this week, color challenges are always fun!  I'll see you again tomorrow with more fun inspiration.  Have a blessed day!

Hugs,
Lea

Wednesday, February 10, 2016

Wicked Wednesday with Lemon Shortbread

It's Wicked Wednesday ATC Challenge Blog time and our sponsor this week is Lemon Shortbread.  The theme is "Seeing Red" and I've used the Baking Love Cupcake Girl Digi Stamp.  All these food names are making me hungry, LOL!  I do love the images from Lemon Shortbread, they're all adorable!


Here's what I used to create this ATC:

Copic® Markers
Neenah® Classic Crest™ Solar White 
Bo Bunny® Love Letters Collection 6x6 Paper Pad
Roselle Cardstock by Bazzill Basics Paper®
Antique Linen Distress Ink Pad
XS Black PITT Pen by Faber-Castell®
Stickles™ Red and Burgundy Glitter Glue
Zip Dry™ Paper Glue by Beacon

Here's what I did to create this ATC:

Print image, color and trim to desired size.
Trim cardstock for ATC base.
Trim patterned paper 1/8" smaller than ATC.
Adhere layers as shown.
Write sentiment.
Add glitter glue with burgundy on left edge and red filling in remaining space of each heart.
Set aside for glitter glue to dry.

This would make a really sweet Valentine for the kiddos and it's super easy to create.  We would love for you to play along and show us how you're "seeing red!"  Thanks so much for stopping by to take a peek!  Have a blessed day.

Hugs,
Lea


Friday, January 8, 2016

Wanna See My Favorite Project?


Are you totally loving the Stampendous Design Team hop with Imagine Crafts AND our new product sneak peek.   While I haven't used any of the Radiant Neon products for this project, I've used quite a few other inks from Imagine Crafts, after all, they are my favorites!  For my canvas project today, I’ve used one of my very favorite new stamp sets, Fashion Dame!  I love this set designed by Nathalie Kalbach with it’s awesome stencil that’s included!  I love my little canvas I've created, too!


Here’s what I’ve used to create this canvas:

Faber-Castell® Gelatos™ in Butterscotch, Chocolate and Red Cherry
Bo Bunny® Garden Girl Wild Flowers Patterned Paper
Copic® Markers: E50, E51, E53, E93, R05, C5
Liquitex® Matte Gel Medium
Deli Paper


Here’s what I did to create this canvas:

Cover canvas with Butterscotch Gelato™.
Lay stencil on upper half and, using a sponge dauber, ink canvas with Habanero Ink.
Repeat process on lower half of canvas leaving a gap in the middle.
Add Red Cherry and Chocolate Gelatos™ around sides of canvas.
Stamp Eiffel Tower and label stamps onto deli paper. 
Tear around stamped image and, using gel medium, adhere to canvas.
Stamp Fashion Dame and color her with markers.
Stamp jacket and skirt onto patterned paper with purple ink.
Fussy cut girl and clothing.
Using gel medium, adhere girl and clothes to canvas.
Stamp text stamp in gold ink randomly around canvas.
Run Spanish Moss ink around edges of canvas. 

Here’s a list of my teammates that are playing along today:

Lea Fritts (me)


Prize Information:

We have prizes! Three lucky commenters will receive a prize package that includes:
• 1 Radiant Neon Ink Pad and Ink Refill
• 1 Color Fragments Jar
• a Creative Palette Rectangles Set
See Official Contest Rules for details.

Thanks so much for stopping by today!  I hope you’ve enjoyed this week.  Have a wonderful weekend and get your craft on!!

Hugs,

Lea

Friday, November 13, 2015

Hopping with Canvas Corp


It's the last day of Stampendous and Canvas Corp week-long hop using their canvas shoulder bag.  I sure hope you've enjoyed the inspiration from our Design Team.  Who knew one little bag could look so different?  I really enjoyed creating mine and I hope you like it, too!


In case you missed yesterday's post, here's the back side of my bag:


Here's what I used to create this canvas bag:

Stampendous® Friendship Bouquet (Due to it's popularity, this particular stamp is sold out, however,  Flower Path would make a wonderful alternative!)
Derwent® Inktense™ Pencils
Faber-Castell® PITT Artist Pen in Black
Archival Ink™ Jet Black Ink Pad
Gem-Tac™ Permanent Glue by Beacon Adhesive
Water Brush

Here's what I did to create this canvas bag:

Stamp flower images onto bag with black ink, use mask (included with stamp set) to cover large daisy and stamp leaves.
Stamp sentiment at bottom.
Draw flower stems with PITT pen.
Color images with pencils, then use water brush to bring out and set color.
Add green pencil around edges and set color with water brush.
Add glue to fuchsia flower petals, cover with fuchsia glitter and shake off excess, repeat process with lavender glitter on lavender flower.
Set aside to dry completely.


Here’s our Official Contest Rules and there are three prize packages up for grabs.  Be sure to read the rules and play along to win!

Cling Bird Blossom Stamps Set
Bird Blossom Die Cut Set
Jumbo Acrylic Perfectly Clear Stamp Handle
Canvas Corp® Canvas Shoulder Bag
Surprise Goodie Bag of Canvas Corp Product

Australian fans can comment for a chance to win a Stampendous Stamp, a Dreamweaver Stencil and a surprise Stampendous goodie.


Here’s a list of my teammates that are playing along today:


Thanks for stopping by today.  I hope you've enjoyed our hop with Canvas Corp and have left comments along the way.  You never know, you might just be winner.  Have a wonderful weekend and I'll see you again soon!

Hugs,
Lea


Thursday, November 12, 2015

Canvas Corp Fun


It's Stampendous Dreamweaver Thursday and this week the design team is hopping with Canvas Corp.  We each received this nifty canvas shoulder bag, perfect for carrying your water bottle, phone and ID while on a walk!  My project is a two-part creation; I'm sharing the back today and I'll share the front tomorrow. For the back side I used a Dreamweaver stencil so I decided it was appropriate to share it for today.  It's rather simple but sweet and, I really like the way it turned out, I hope you do, too!

The back side of my shoulder bag.


Here's what I used to create this canvas bag:

Canvas Corp Shoulder Bag
Stampendous® Dreamweaver Stencil LJ806 Hexagons
Stampendous® Cling Daisy Mix Rubber Stamp Set
Derwent® Inktense™ Pencils
Archival Ink™ Pad in Jet Black
Archival Ink™ Pad in Chrome Yellow
Faber-Castell® PITT Artist Pen in Black
Cosmetic Sponge
Water Brush

Here's what I did to create this canvas bag:

Stamp images onto bag with black ink.
Use masks (included as part of the stamp set) to cover stamped images and, using stencil, ink design onto bag with a cosmetic sponge.
Draw flower stem with PITT pen
Color image with pencils, then use water brush to bring out and set color
Add green pencil to two corners and set with water brush


Here’s our Official Contest Rules and there are three prize packages up for grabs.  Be sure to read the rules and play along to win!

Cling Bird Blossom Stamps Set
Bird Blossom Die Cut Set
Jumbo Acrylic Perfectly Clear Stamp Handle
Canvas Corp® Canvas Shoulder Bag
Surprise Goodie Bag of Canvas Corp Product

Australian fans can comment for a chance to win a Stampendous Stamp, a Dreamweaver Stencil and a surprise Stampendous goodie.


Here’s a list of my teammates that are playing along today:

Lea Fritts (me!)

Thanks so much for stopping by today!  Be sure to come back by tomorrow so you can see the front of my sweet shoulder bag.  Don’t forget to comment for your chance to win a prize package.  See you then!

Hugs,

Lea