Wednesday, September 27, 2017

Rose Garden

Fall has just arrived so you know what that means, right?!  Stampendous is giving you a little sneak peek into our Spring line with the soon to be released October 2017 catalog.  There are so many awesome stamps to help shake away the coming winter blues.  It's like opening the gate to your very own rose garden!  You're going to love the many florals and other lighthearted stamps that signify the changing of the seasons.  Today, I'm sharing with you one of my favorites, Heart Vines.  I love how the vines form a perfect and beautiful heart that practically screams romance and love.  It was easy to turn this stamped image into a sweet shabby chic card to share with a loved one.


Here's what I used to create this card:

Stampendous Product -


Other Products - 

Bikini Pink Cardstock by Bazzill Basics Paper®
Elderberry Paper Pad by Forever in Time®
Fashionably Chic Paper Pad by Recollections®
Pumice Stone Distress Ink by Ranger
May Arts Ribbon®
Offray® Lace Trim
Zip Dry™ Paper Glue by Beacon Adhesives
Copic® Markers (RV21, RV23, RV32, E70, E71, YG95, YG97, YG99)

Here's what I did to create this card:

  1. Stamp image with black ink on white paper
  2. Color image with markers
  3. Trim image closely, distress and ink edges of paper
  4. Trim pink cardstock in an A2 size with a tent fold and lightly distress and ink edges
  5. Trim patterned papers for background as shown and distress and ink edges
  6. Adhere background layers as shown
  7. Adhere ribbons as shown and adhere to card base
  8. Adhere image to card front
  9. Using glue, adhere mica fragments where desired


Thanks for stopping by today!  I'll have another sneak peek for you on Friday, so be sure to come back for another look.  In the meantime, have a wonderful week.

Hugs,
Lea

Friday, September 22, 2017

Winter Wonderland in Foam

(I would like to apologize for my absence from the hop on Thursday.  I've had a rather unpleasant stomach bug that prevented me from participating.  I do hope you'll have the opportunity to view yesterday's post.)

Today is the last day of the Stampendous and Scrapbook Adhesives Blog Collaboration, man has it been fun!  The Scrapbook Adhesives 3D Foam Creative Sheets are awesome!  You can cut them with scissors or with die cuts, and, for my card today, I used both.


Here's what I used to create this card:

Copic® Markers (B000, R24, R29, C5)
Core'dinations® Powder Blue Cardstock

This card is so simple but it's so sweet!  I'm in love with this smiling little snowman, he really has melted my heart.  Of course the foam sheet was super easy to cut with scissors to create the snowy landscape and the snowman die was a piece of cake to create my raised snowman.  You may have noticed I mentioned using the Foam Snowflakes on this card.  Not only does the packet come with traditional style snowflakes, it also includes these super cute circles in different sizes for a more contemporary snow scene!  I love them both!

Thanks snow much for stopping by today.  I do hope you've enjoyed our blog collaboration.  If you haven't already tried Scrapbook Adhesives many different products, then you really should.  They make crafting fun!  I'll see you again next week with a sneak peek of the newest stamps!  Until then, have a wonderful weekend!

Hugs,
Lea


Thursday, September 21, 2017

Foam Fun

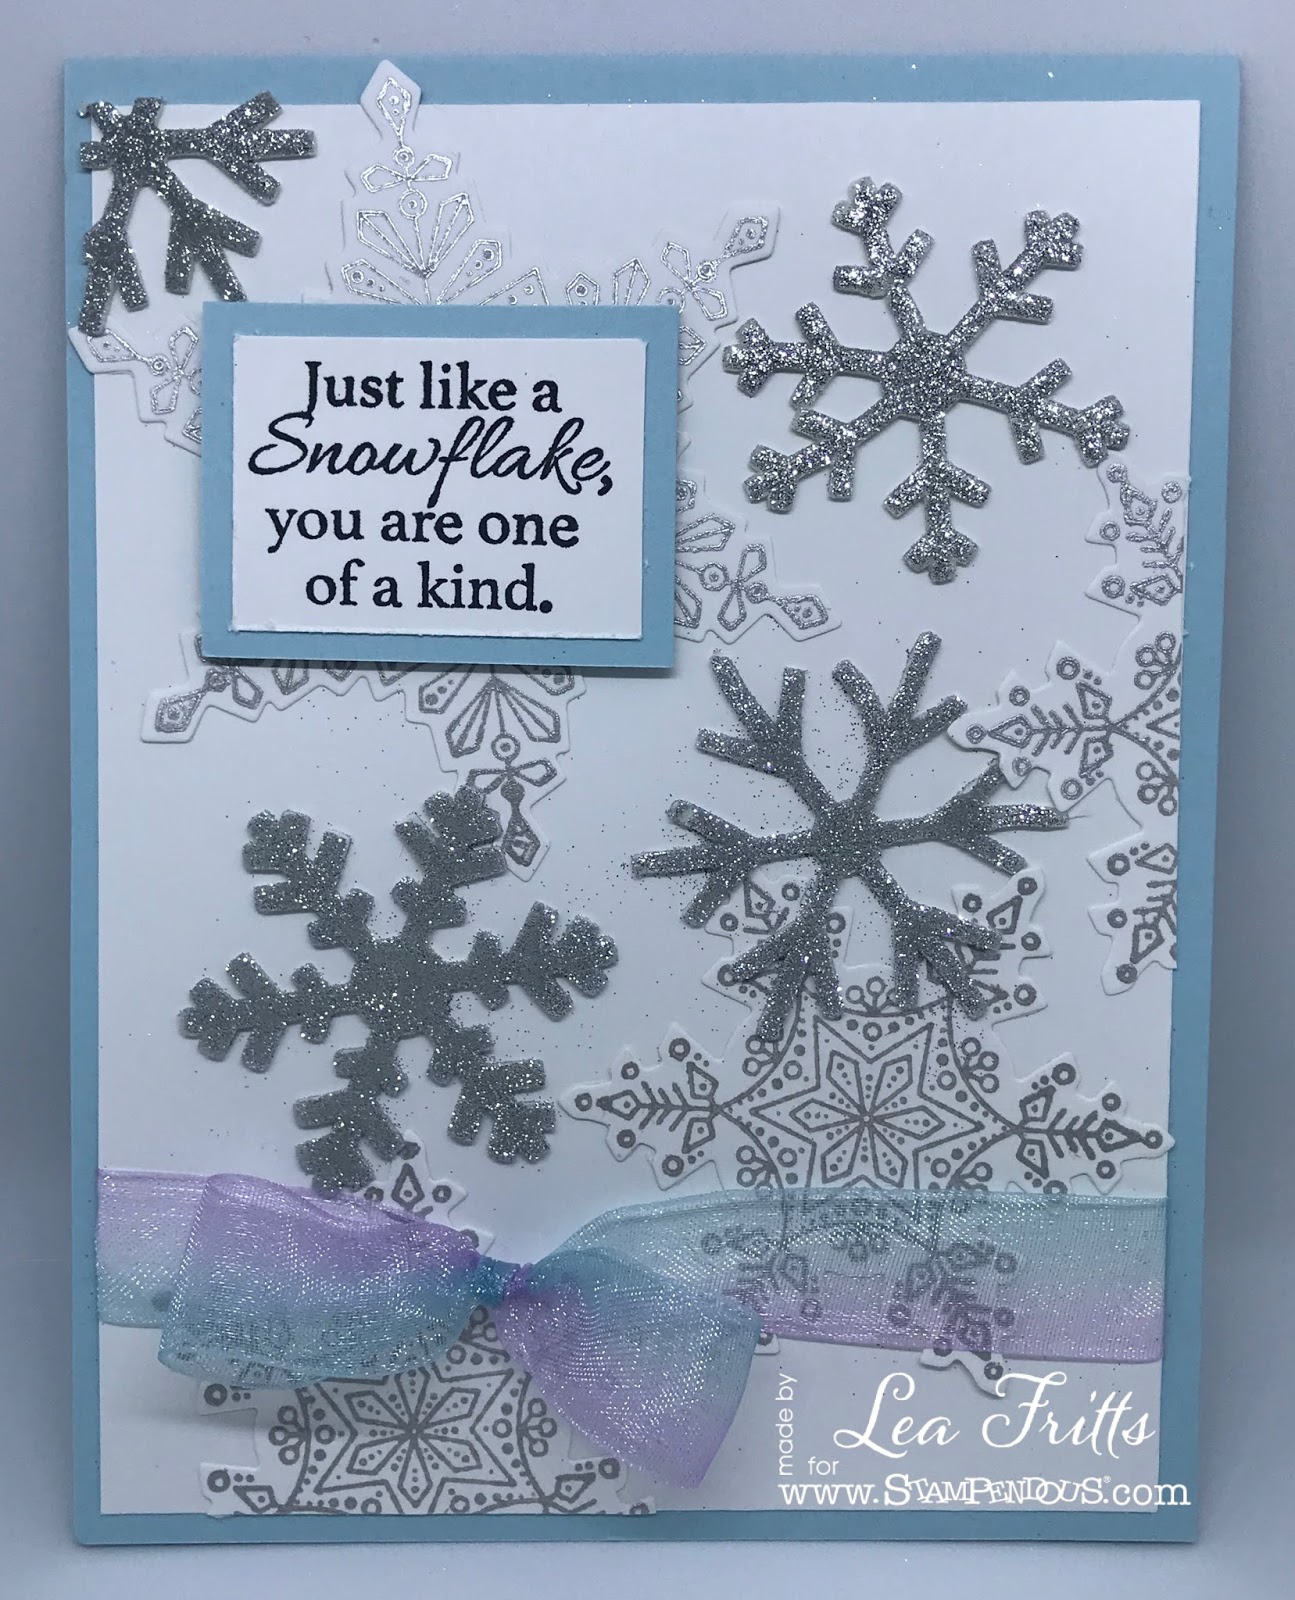
Stampendous is collaborating with Scrapbook Adhesives this week, one of my favorite brands of adhesives.  Most crafters know them for their E-Z Runner adhesives and their 3D Foam Squares, but, did you know they also make fun shapes from foam?  For my card today, I've used their 3D Foam Snowflakes.


Here's what I used to create this card:

Core'dinations® Powder Blue Cardstock
Memento™ Tuxedo Black Ink Pad by Tsukineko®
Delicata™ Shimmery Silver Ink Pad by Tsukineko®
May Arts Ribbon®

These snowflakes are so much fun to use.  You can stick all sorts of fun things to the foam, glitters, powders, flocks, beads, all sorts of fun stuff!  They're super sticky, so, no worries about product falling off.   I do hope you'll get some and give them a try.

Thanks so much for stopping by today.  I'll see you again tomorrow with more wintery wonderfulness.  See you again soon!

Hugs,
Lea


Friday, September 1, 2017

Angel Blessing


Today is the last day of a week-long celebration of Trees at Stampendous.  It doesn't matter what holiday or season, if it has a tree, we're celebrating!  Personally, I have a thing for trees and a thing for angels.  This love of both made Angel Blessing the perfect stamp for today's post.  I love the vintage feel of this image.  So sweet!


Here's what I used to create this card:

Stampendous product -


Other product - 

Caribbean Sea Cardstock by My Colors®
Firecracker Cardstock by My Colors®
E-Z Runner® Adhesive by Scrapbook Adhesives™
Zip Dry™ Paper Glue by Beacon Adhesives
Copic® Markers (BG13, BG15, BG18, G94, G99, R14, R20, R27, R29, E50, E51, E53, E23, E27, E29, E44, E47, E71, E74, B0000, BV000, Y26)

Here's what I did to create this card:

  1. Stamp image with black ink on white paper
  2. Color image with markers
  3. Trim image closely
  4. Trim teal cardstock to an A2 size with a tent fold
  5. Trim a mat for image from red cardstock
  6. Adhere all layers as shown
  7. Using glue, adhere glitter where desired
Thanks so much for stopping by to take a look!  I hope to see you again real soon.  

Hugs,
Lea

Friday, August 25, 2017

Bubbling Trouble

Nothing says spooky like some Stampendous® Bubbling Trouble!  I love this witch and her cat as they dance around the bubbling cauldron.  I can just hear her chanting, "Doubledouble toil and trouble; Fire burn, and cauldron bubble."


Here's what I used to create this card:

Stampendous:


Other products:

Sweet Potato Cardstock by My Colors®
E-Z Runner® Adhesive by Scrapbook Adhesives™
Zip Dry™ Paper Glue by Beacon Adhesives
Copic® Markers (B95, B97, B99, G29, Y02, Y17, YR07, YG01, R14)

Here's what I did to create this card:

  1. Stamp image with black ink on white paper
  2. Color image with markers
  3. Trim image closely
  4. Stamp sentiment with black ink on white paper
  5. Trim sentiment closely
  6. Trim orange cardstock in a vertical A2 size with a tent fold
  7. Trim a mat for sentiment in orange cardstock
  8. Adhere layers as shown
  9. Using glue, adhere glitter on bubbles
Thanks bunches for stopping by!  I hope you've enjoyed getting "Boo-ed" by us!  I'll see you next week with more Stampendous inspiration.  Have a wonderful weekend!

Hugs,
Lea

Wednesday, August 23, 2017

Froggy Spells

Nothing quite says Halloween like a wizardly frog casting a little magic spell!  LOL!  This Stampendous® Froggy Spells stamp is toad-ally adorable, wouldn't you agree!?  I fell in love with him the first time I saw him!


Here's what I used to create this card:

Stampendous® Products 


Other Products

Concord Jam Cardstock by My Colors®
Sweet Potato Cardstock by My Colors®
Delicata™ Silvery Shimmer Ink Pad by Tsukineko®
E-Z Runner® Adhesive by Scrapbook Adhesives™
Zip Dry™ Paper Glue by Beacon Adhesives
Copic® Markers (C1, V04, V06, Y18, YR12, YR21, YR23, YR65, YG11, YG13, YG17)
Spectrum Noir™ Marker (EB2)

Here's what I did to create this card:

  1. Stamp image and sentiment with black ink on white paper
  2. Color image with markers
  3. Trim image and sentiment closely
  4. Trim purple cardstock in a vertical A2 size with a tent fold
  5. Stamp spider web in silver ink on purple card front
  6. Trim a mat for image and sentiment from orange cardstock
  7. Adhere layers as shown
  8. Using glue, adhere glitter and fragments where desired
Thanks bunches for stopping by to have a look!  I'll have another fun Halloween card posted on Friday so be sure to come back by then.  Have a wonderful day!

Hugs,
Lea

Monday, August 7, 2017

Lighthouse Christmas

August 7th is National Lighthouse Day so the Stampendous Design Team is sharing a couple of cards created with our awesome lighthouse stamps.  I'm sharing my card using Lighthouse Christmas.  


Here's what I used to create this card:

Firecracker Cardstock by My Colors
Olive Green Cardstock
E-Z Runner® Adhesive by Scrapbook Adhesives™
Zip Dry™ Paper Glue by Beacon Adhesives
Copic® Markers (B34, B39, B37, B95, B97, B99, R46, R59, Y11, C1, C5, G94, G99)

Spectrum Noir™ Markers (EB1, EB2, IG1, IG2, IG4)


Here's what I did to create this card:
  1. Stamp image with black ink on white paper.
  2. Color image with markers.
  3. Trim image closely.
  4. Trim red cardstock in a vertical A2 size with a tent fold.
  5. Trim a mat for image in olive cardstock.
  6. Adhere layers as shown.
  7. Using glue, adhere Crystal Micro Glitter where desired.
Thanks so much for stopping by today.  If you live close enough to one of our country's many lighthouses, take a tour.  Right now I'm close to two!  See you again real soon!

Hugs,
Lea