Friday, August 15, 2014

Stampendous and Authentique Hop

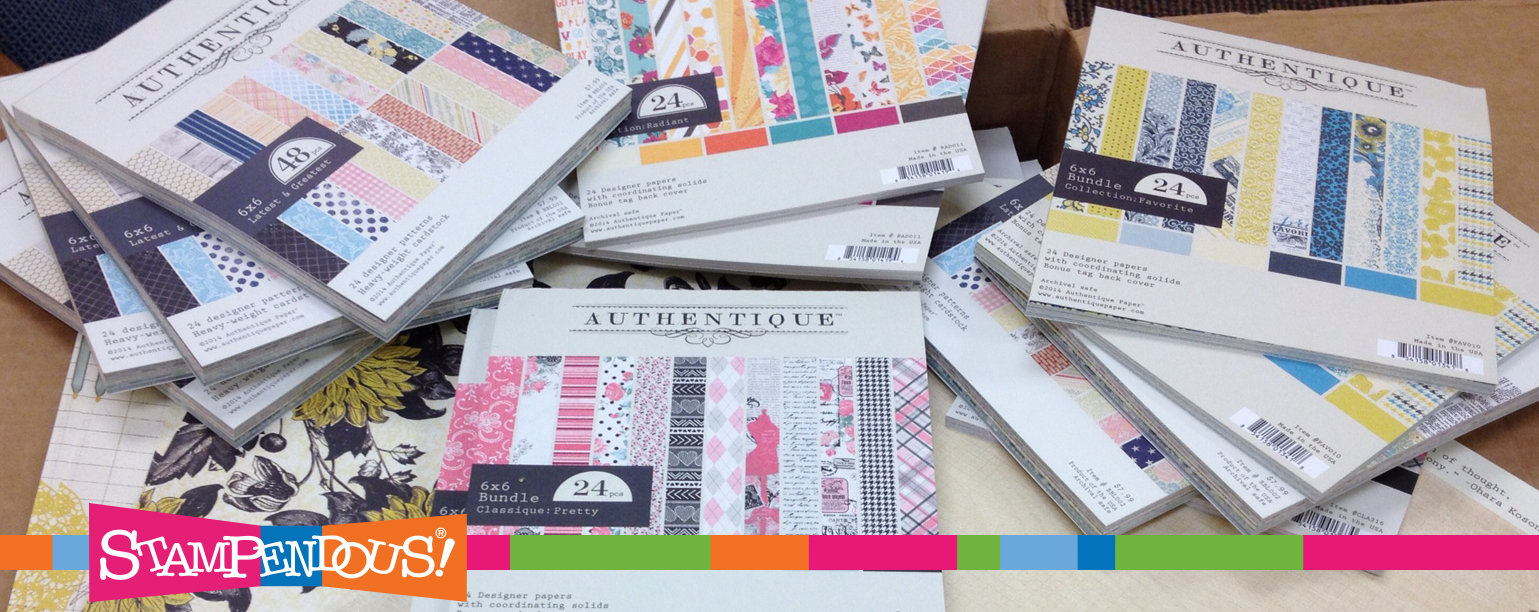
Authentique Stampendous Blog BannerToday several of our Design Team Members have a second project to show you featuring the gorgeous papers sent to us by Authentique™ Paper. These papers were intended for our BIG Blog Hop in October and our team is using them on our October Catalog Samples. But we couldn't resist sharing them just a bit early with some other images. We have a fun prize to give away this week. Only one, but it's a good one! One lucky winner will get some Authentique papers of their own, plus a $20 Stampendous Reward Card. WOW! How? Just comment on the blogs this week! Miss the earlier posts? Here they are: MONDAYTUESDAYWEDNESDAYTHURSDAY You have until Sunday night to comment, then Monday we'll choose one winner for the prize! So hop around and leave these hard-working gals some love on their terrific projects! (that means comment on their blogs!)


For my card today, I decided to celebrate fall in all her glory with the help of a friend.  Who, you might ask, well that would be the awesome PenPattern Owl, that's whooo!  Yeah, corny pun intended!  Anyway, here's my card and I do hope you like it!


Here's what I used to create my card:

Stampendous® Embossing Powders - Carnelian PEARLustre, Paprika, Honey
Neenah® Classic Crest™ Solar White
Tim Holtz® Distress Inks® - Antique Linen
May Arts Ribbon
Beacon Adhesive® Zip Dry™
Spectrum Noir Markers:
  • CG1, CG2, CG4
  • GB1, GB4, GB6, GB8, GB9
  • EB1, EB2, EB6, EB7
  • TN2, TN3, TN4, TN6, TN7, TN8, TN9
  • DG3
  • BG4, BG6
Here's what I did to create my card:

Stamp owl image with black ink onto cs and color
Trim image to desired size and ink with distress ink
Create card base with a tent fold
Trim patterned papers (pp) as shown and trim a piece of ribbon to fit across pp
Attach ribbon to pp and adhere pp to card base
Adhere image to pp mat and attach to card
Stamp leaf onto pp and die cut
Using Boss Gloss, add ink in steps while applying embossing powders and heat setting
Attach leaf to card
Mix the three different colors of color fragments and apply as shown with glue

So, that's my card, I hope you like it!  I'm going to enter it in the Spectrum Noir monthly challenge so be sure to check that out and you can enter it with your project, too!  Here are links to the rest of the team showcasing their projects for your inspiration:


Tenia Nelson

Kristine Reynolds

Pam Hornschu

Jamie Martin

Lea Kimmel (me)

Jennifer Dove

Thanks so much for stopping by!  I do hope you will stop by again tomorrow as the Dreamweaver Dream Team is wrapping up our week-long blog collaboration with WoodWare.  Don't forget to comment to win for today's post (and tomorrow's)!  See you then! Have a blessed day!

Hugs,
Lea

Thursday, August 14, 2014

Authentique-ly Wonderful Paper

All this week the Stampendous Design Team has been creating projects using some amazing papers sent to us by Authentique!  I love their papers, the designs, the quality, they're truly superb papers in every way!  Plus, we have a pretty cool prize for one lucky winner!  So, for a chance to win some sheets of this delightful patterned paper and a $20 Stampendous.com reward card, be sure leave each designer some love along the way!

I love Halloween!  It's my favorite holiday of the year!  When I was a kid, I thought it was awesome that I could be anyone I wanted to be for that one day.  I could be a hippie, a princess, whatever struck my fancy.  My love for it has only deepened throughout the years as I've watched my kids become whatever character they wanted to be for that day.  Now, I even have a granddaughter that trick or treats and I love buying her costumes each year.   Anyway, here's my card:


Here's what I used to create my card:

Stampendous® Crow Caw
Stampendous® Halloween Wish
Authentique™ Paper Harmony Collection's Abundance and Song
Stampendous® Aged Black Embossing Enamel
Stampendous® Detail Black Embossing Powder
Neenah® Classic Crest™ Solar White
Neenah® Classic Crest™ Natural White
Tsukineko® VersaMark™ Pad
Tim Holtz® Distress Ink™ - Antique White
Spectrum Noir Markers BG2, Blender
May Arts Ribbon®
Beacon Adhesive® Zip Dry™

Here's what I did to create my card:

Stamp images with VersaMark™ pad and emboss using Aged Black EE and Detail Black EP
Accent around images with additional Aged Black EE
Create a shadow under the bird with the markers
Trim image to desired size and ink with distress ink
Create a mat for image and adhere the two as shown
Create card base as shown with a tent fold
Trim patterned papers as shown
Adhere the two patterned papers together and attach ribbon, adhere this to card base
Using foam mounting squares, attach matted image to card

That's it for today.  I hope you've enjoyed my post and will come back tomorrow for yet another post!  Don't forget to leave me some love if you're interested in winning our prize, you must comment to be eligible.  Have a blessed day!

Hugs,
Lea

PS:  We're currently experiencing web site problems at Stampendous, please bear with us as we try to get things working properly.

Wednesday, August 13, 2014

Christmas in August?


Yes! It's that time of year again! The time when we inspire crafters on both sides of the "pond" with a mix of both Dreamweaver and Woodware UK* products for the holidays! Six days, SIX, of beautiful, elegant, merry, cute, artsy, and craftsy projects to have you heading out to your local stores or internet sites to buy these goodies immediately!


Of course, there will be prizes as well. Three prize packages will be given to three commenters during this week's posts on the team's blogs, including five stencils and one nested die set. You can have an opportunity to win these goodies by leaving some holiday sweetness for each team member posting each day, to be one of the three winners for the week. Here are the team members that are inspiring you today:

Here's my creation: 
Memento™ Tuxedo Black Ink Pad
Neenah® Classic Crest™ Solar White Cover Stock
Miscellaneous Red Cardstock
May Arts Ribbon®
Viva Colour® Pearl Pen™ - Ice White
Beacon Adhesive® Zip Dry™
Spectrum Noir Markers:
  • FS1, FS2, FS3, FS4
  • CR1, CR7, CR11
  • DR3, DR6
  • TN2, TN4, TN7
  • GB2, GB8
  • IG1

Here's what I did to create this card:

Paste emboss snowflakes on red cardstock, set aside to dry
Stamp mouse image twice, cut one out to use as a mask
Masking the other mouse, stamp sentiment so that mouse appears to be standing on top
Color image and trim as shown
Trim a mat in red cs to place behind sentiment
Create card base with a tent fold
Once paste is dry, trim piece to correct size
Trim a white mat for embossed piece and adhere the two
Attach ribbon to matted and embossed pieces
Adhere this to card base
Adhere stamped images to ribbon and card

This makes a relatively quick Christmas card with tons of cuteness!  I thoroughly enjoyed creating this one and hope it gives you just the right inspiration for your own!  Thanks for stopping by today and I'll see you again tomorrow with more posts for your viewing pleasure!  I do hope you'll leave me some love in the comments section (pssstt...that's how you win!).  Thanks for stopping by!

Hugs,
Lea


*For a stockist near you contact Woodware Craft Collection in the UK and Notions Marketing in the USA.


Wicked Wednesday with Sami Stamps

It's wickedly sweet this week as we celebrate a week of "Something Sweet" at Wicked Wednesday ATC Challenge Blog!  Sami Stamps is our sponsor and I have to say, I absolutely love her images!  They're always a favorite of mine to create with.  This week I've used Ice Cream Beauty and I think she's especially sweet!


Here's what I used to create this ATC:

Neenah® Classic Crest™ Solar White
Fancy Pants Designs© Summer Soul 6"x6" Paper Pad
Crochet Lace Ribbon
Spectrum Noir Markers:
IB1, CG1, CG2, CG3, GB1, EB1, EB2, GB8, EB6, EB5, Blender
Copic® Markers:
E21, E30, E53
Beacon Adhesive® Zip Dry™

Here's what I did to create this ATC:

Printed image on Neenah® and cut to ATC size
Colored image with markers
Trimmed patterned papers and adhere dot paper to bottom of image
Trim ribbon and adhere to dot paper
Adhere patterned paper sentiment

That's it for this Wednesday!  I hope you'll participate in our challenge, it's sure to be a sweet one!  Thanks for stopping by and I'll have posts for Thursday, Friday and Saturday so come back and see me!

Hugs,
Lea


Friday, August 8, 2014

Back to School...

...for our favorite little mice!  Yes, school is starting back soon and it's time to think about those teacher "here's to a great year" cards.  Stampendous has celebrated all week with House-Mouse Designs® as we prepare for yet another school year!  Here's my card:


This is what I used to create this card:

DecoArt® Americana™ Clear Chalkboard Coating
Bazzill® Cardstock
Little Yellow Bicycle® Making the Grade
Neenah® Classic Crest™ Cover Stock in Solar White
Tim Holtz® Distress Ink® in Pine Needles
Krylon® Workable Fixatif
Sargent Art® Chalk
Paperclips
Beacon Adhesive® Zip Dry™ 
Spectrum Noir Markers used:
  • GB2, GB4
  • FS9
  • CR2
  • TN1
  • EB1
  • IG1, IG3, IG4, IG5
  • CT2, CT4
  • TN5, TN7, TN9

Here's what I did to create this card:

Stamp image on white cs, color and trim to desired size, edge with green ink
Create card base for a 5"x5" square card with a tent fold
Trim patterned papers as shown
Coat "chalkboard" patterned paper with chalkboard coating, allow time to dry
Write on "chalkboard" paper with chalk, spray with Fixatif, allow a few minutes to dry
Arrange patterned papers as shown, add paper clip and adhere all papers to card base
Adhere paperclips in lower corner
Add burgundy fragments

Thanks for stopping by and checking out my card, I appreciate your visit.  Next week will be a busy one so please do stop by.  Dreamweaver Stencils is hopping with Woodware all week and Stampendous is featuring Authentique papers all week.  Yep, it's going to be a busy week in blogland!  Have a blessed day and I'll see you again soon!

Hugs,
Lea


Thursday, August 7, 2014

An "August" Occasion

As we are heading towards back-to-school again, it is only appropriate that we break out our dictionary for this month's Dreamweaver challenge..."AUGUST as an ADJECTIVE"! 
 
Merriam-Webster defines august as, "marked by majestic dignity or grandeur", with synonyms such as, "dignified, distinguished, imposing, portly, solemn, staid, and stately". Now, I don't know just how dignified and stately the Dream Team can become for an entire month, but we are all going to give it a try! How about trying along with us, and linking YOUR creations to the inlinkz tool below for a chance to win the wildest stencil design your little heart is screaming for. 

Here's my creation for this week:


The other night I was looking at a stencil package and thought to myself, "I really like Dreamweaver's packaging with the navy blue and silver."  I also like the extra piece of blue paper that is sometimes in the middle and it occurred to me that I could use that piece of paper on a card.  So, I decided to use the Dreamweaver color scheme with a piece of Dreamweaver packaging to create my Dreamweaver card!!  I just added a pop of red to go with it!  I love the color combo!

Here's what I used to create this card:

Dreamweaver Stencils Packaging Paper
Bazzill Cardstock in Red
May Arts Ribbon
Queen & Co. Rhinestones
Beacon Adhesive Zip Dry

Here's what I did to create this card

Remove extra paper from stencil packaging (or just use navy blue cardstock)
Tape stencil to blue paper and paste emboss with metallic silver paste, set aside to dry
Once paste has dried, trim to desired size
Create card base for standard A-2 card
Create bow with tails long enough to wrap around to back of stenciled piece
Adhere ribbon/bow to card
Adhere pasted paper to card base
Attach rhinestones to flower centers

I hope you've enjoyed my card today!  I had fun creating it for you.  So, put on a straight face for the "A" team this week:


Thanks for stopping by today!  I hope to see you again soon, as always!  Don't forget to play along, you just might win!  Have a blessed day!

Hugs,
Lea


Friday, August 1, 2014

How Do You Stack Art?

All this week, the Stampendous Design Team and several guest designers have been showing off a lot of fun things you can create with the new Stampendous Stack Art Kits.  Truly, you are only limited by your imagination with these fun kits!  I've created two different projects with similar themes but two very different looks!  We'll get to my projects momentarily, first, here's an explanation of our Stack Art Kits to help you better understand what they consist of.

Our Stack Art Kits have three components:
  • The Stack Art Kraftboard Kit which includes all the kraftboard pieces you’ll need to make at least 4 amazing creations; die cut, double-sided adhesive for all the kraftboard pieces; and sentiments you can use to make each piece a special gift or card embellishment.
  • The Stack Art Stamp Sets which include an assortment of terrific background stamps and other images plus an acrylic handle.
  • The Stack Art Elements Kits which each include five jars of embellishing goodness to stick to your adhesive covered kraftboard pieces.
Since so many others have shown you projects using the larger kraftboard pieces, I decided to show you a couple of different ways to use the smaller accent pieces and the adhesive pieces.  Here's my first project:


Here's what I used to create this project:

DecoArt® Americana® Winter Blue Acrylic Paint
DecoArt® Americana® Baby Blue Acrylic Paint
DecoArt® Americana® Snow White
DecoArt® Traditions® Carbon Black
StāzOn® Cloudy Sky Ink Pad
Faber-Castell® Pitt Pen in Warm Grey III
Faber-Castell® Pitt Pen in Black Medium Point
Beacon® Gem-Tac
Artist's Loft™ Canvas Panel

Here's what I did to create this project:

Mix both blue paints and cover canvas
Paint on some clouds and allow to dry
Once clouds have dry, mix a tiny amount of black to some white paint and add some subtle shading in the clouds
Paint the wings with the white paint and set aside to dry
Cover the fronts of two hearts with glue and add the red glitter, set aside to dry
Using gray ink, cover wing stamp with ink, stamp off once and then stamp onto painted wings
Write sentiment on canvas panel
Glue wings and hearts onto canvas panel 

For my second project, I wanted to make a little something different that I could set on my desk or on a shelf around the house.  I have a thing for hearts, I love them!  Hearts with wings remind me of my dad, I bought him a pillow that was a heart with wings attached right after he had quadruple by-pass surgery on his heart.  This project is dedicated to my dad whom I miss dearly!


Here's what I used to create this project:

Bo Bunny® Love Letters Collection 6x6 Paper Pad
Neenah® Classic Crest™ Solar White Cover Stock
DecoArt® Americana® Coral Blush Acrylic Paint
Tim Holtz® Distress Inks® in Antique Linen and Tea Dye
StāzOn® Cloudy Sky Ink Pad
Beacon® Gem-Tac®
Frames & Moore™ Medford 3.5 in x 5 in Frame

Here's what I did to create this project:

Stamp background image onto white cs and trim to desired size
Add distress inks to stamped image
Apply wings die-cut, double-sided adhesive  to image as shown
Add embossing enamel over wings and heat
Paint heart with coral paint, set aside to dry, apply additional coats of paint as needed
Trim patterned paper to fit frame
Adhere stamped image to center of patterned paper
Adhere heart to wings
Assemble into frame

That's it for me today!  I do hope you've enjoyed my projects and have found a little inspiration along the way!  Thank you so much for stopping by and I hope to see you again soon.  Have a blessed day!

Hugs,
Lea