Thursday, June 5, 2014

Old, New, Borrowed, Blue

At Dreamweaver Stencils, we love to make our monthly challenges something for everyone, and not so strict that no one wants to play along. This month our challenge is, "Old, New, Borrowed, Blue", with the obvious thought being a wedding theme...but not necessarily. Add an old embellishment or picture. Use a new stencil design or technique. Borrow, or CASE (copy and say everything) another designers project, and obviously, blue...is blue. Where will YOUR creative process take you for this month? We'd love to see! And remember, linking your creations with the Inklinkz tool at the end of the team posts, provides you with the opportunity to win the stencil of your choice! Here's what I've created for this week...


Here's what I used to create this project:

Dreamweaver Stencils© Your Wedding Stencil LL 3034
Dreamweaver Stencils© Lace Rectangle Stencil LJ 839
Dreamweaver Stencils© Black Embossing Paste
Stampendous® Stamps Kaleidoscope Sparkle Embossing Paste
Tsukineko®/Imagine Crafts® Delicata Pigment Ink Pad in Silvery Shimmer
May Arts Ribbon®
Bazzill® Cardstock
Spellbinder® Die
Beacon Adhesive® Zip Dry™
Foam Mounting Squares

Here's what I did to create this project:

Paste embossed Your Wedding stencil with matte black embossing paste, set aside to dry
Next, brush/ink-stencil the Lace Rectangle stencil with silver pigment ink and then apply sparkle embossing powder and heat emboss
Once black paste is dry, cover the black paste with the same silver pigment ink and then apply the embossing powder and heat emboss (Originally I had planned to keep it black)
Trim the Lace Rectangle piece close to the edges and adhere ribbon
Create card base and adhere Lace Rectangle piece to card base
Die cut the sentiment and attach foam mounting squares and adhere to card

I know the challenge specifically mentions blue but I've always loved lavender and silver together so that set my color scheme.  The lavender is actually what made me choose to use the embossing powder I used, I love that it has a lavender sheen to it when turned certain ways in the light.  It's so pretty in real life!  A simple, yet elegant, wedding card!

Here's what our "A" team has been working on this week:


That's it for me this week, I'll see you next week!  Until then, have a wonderful day!

Hugs, 
Lea


Monday, June 2, 2014

Fairy Dust?

It's time for another challenge at Desert Islands Crafters Challenge Blog.  Our sponsor for this challenge is The Stamping Chef and my image is Fairy Dust.  I have to admit, this image cracked me up when I saw it.  It comes with a sentiment but since I wasn't given the sentiment I made up my own, which also cracked me up!  I guess I'm easily amused!  Here's our itinerary for this challenge:

1.  Distress it.
 2.  NO FLOWERS!!!
 3.  Monotone.
 4.  Not a Card.
 5.  Use a funny quote or saying.
 6.  Make it sexy for that love in your life!
 7.  use at least 3 pattern papers
 8.  emboss it 
 9.  use ribbon
10.  use metal  

I've used #'s 2, 3, 5, 7 & 9.


Here's what I used to create this card:

Pebbles™ - Garden Party Patterned Paper
Bazzill® Cardstock
Neenah® Classic Crest™ Solar White
Copic® Markers: E50, 51, 21, 53: B12, 14; R00, 01, 02, 20, 21, 22, 25; C00, 0, 01; 0 Colorless Blender
Copic® atYou Spica Peach Glitter Pen
Stampendous® Ultra Fine Crystal Multi Glitter
Beacon Adhesive® Zip Dry™
Foam Mounting Squares
Glue Dots®
White Seam Binding
Copic® R20 Refill

Here's what I did to create this card:

Print image and color with Copic markers, trim to desired size
Create card base from Bazzill with a tent fold
Trim patterned papers as shown
Adhere all layers of patterned paper to card base
Adhere image to card
Create and print sentiment, trim as desired
Create a mat for sentiment from Bazzill used for card base
Trim a piece of seam binding, place in container and dye with Copic refill, heat with heat gun to dry
Tie bow from seam binding and attach with glue dot
Attach sentiment with foam mounting squares
Add glitter to "poof" and under "fairy dust" on sentiment

Sadly, this is the last post for Desert Island Crafters Challenge Blog for a few months.  We're going to take a summer break but we'll be back in the fall ready to challenge you to even more fun challenges!  I hope you'll play along with us prior to our break.  Thanks for stopping by!  I'll see you again soon!

Hugs,
Lea


Saturday, May 31, 2014

Wicked Wednesday on Saturday...

...yeah, that's how things roll sometimes!  For me anyway, I don't know about the rest of you.  So the Wicked Wednesday ATC Challenge blog sponsor for this last week was The Greeting Farm using the Cheeky Fairy digi!  This is an adorable fairy!


I colored her with Copics, cut her out and mounted her on a card base of Bo Bunny Dots and a scrap of miscellaneous patterned paper.  I used the new Radiant Neon inks in Electric Blue and Electric Yellow to create the Amuse sentiment.  She's a cutie!

Thanks for stopping by and I'll see you again soon!  Have a blessed day!

Hugs,
Lea

Thursday, May 29, 2014

Be Ewe-nique!

Well, it's the end of the merry month of May! The Dream Team has challenged you this month to a "Flora and Fauna"theme! Considering most of the Dreamweaver designs incorporate both of these in the huge variety of stencils, you should have no problem playing along with our challenge this month! As usual, link your creations at the end of theDream It Up! blog post, or at the end of our posts where it says, "Add Your Link"

Here's what I've been playing with this week...


We have a new stencil, Open Sheep, and I have had so much fun creating this canvas!!  I believe my kids think I've gone off the deep end since I giggled almost the entire time I was creating this one!

Here's what I used to create this canvas:

Imagine Crafts®/Tsukineko® Radiant Neon™ Inks in these "Electric" colors: Coral, Orange, Blue, Green, Purple, Yellow and Pink
Tim Holtz® Grunge Board Letters
Faber-Castell® White Pitt™ Pen
Faber-Castell® Black Pitt™ Pen
Canvas board
Beacon Adhesive® Zip Dry™

Here's what I did to create this canvas:

Ink canvas as shown using Blushers with green, yellow and blue inks
Paste emboss sheep as shown
Once the first layer of paste dries, use your finger to apply another layer to give sheep their "fluff"
Allow second layer of paste to dry and ink the one sheep with multiple colors
Using the white Pitt™ Pen, go over areas that are too translucent and their faces
Using the black Pitt™ Pen, add their "eyes"
Using the purple ink, shade the letters, once dry, glue to canvas

Since this is the 5th Thursday of the month, the whole team is playing along so you'll have lots of inspiration to get those creative juices flowing.  Here's the list:


Be sure to play along with us!  We're lots of fun!  That's my post for today, thanks for stopping by.  I'll see you again soon.  Have a blessed day!

Hugs,
Lea


Friday, May 23, 2014

Imagine Stampendous and Tsukineko Together

Stampendous and Imagine Crafts Header

Welcome back! We're on Day 5 of our collaboration with the folks at Imagine Crafts! We're just super excited about these terrific inks and the Radiant Neon™ just have us feeling all summer time and happy! Combining them with Stampendous Images and terrific Fran•táge Color Fragments has made some super cheery, bright inspiration for you!! Plus you have a chance to WIN!


  STM Imagine Crafts Prize Package

I have two projects for you today.  One project just fed the second one so I figured, why not do two!  My first project is a bracelet I thought would be fun to create for the summer.


Here's what I used to create this project:

Stampendous Stamps® Angel Wings Quotes PCS
Stampendous Stamps® Regal Bird Quotes PCS
Stampendous Stamps® Royal Heart Quotes PCS
Imagine Crafts®/Tsukineko® Radiant Neon™ Inks in these "Electric" colors: Coral, Orange, Blue, Green, Purple, Yellow and Pink
Imagine Crafts® /Tsukineko® StāzOn® Midi in Jet Black
Imagine Crafts®  GlāzOn® in Matte Finish
Imagine Crafts® InkBlushers
Tim Holtz® Fragment Charms
Misc chain and jump rings


Here's what I did to create this project:

Pick out your fragments and ink one side using the ink blushers, set aside to dry
Once the ink has dried, add a coat of glaze to protect your finish
Stamp the various words on the non-inked side of each charm, allow to dry and cover with glaze
Add jump rings to charms and attach to chain
Add clasp to chain

As I was inking my charms, I noticed I had ink left on the blushers and rather than waste that ink, I pulled out my small Dylusions journal and randomly added ink to a double-page spread.  I loved the soft look of the colors and there was actually enough of each color to cover both pages!  I added some stamps and a favorite quote and my pages were complete!


Here's what I used to create these pages:

Stampendous Stamps® Cling Hydrangea Garden
Imagine Crafts®/Tsukineko® Radiant Neon™ Inks in these "Electric" colors: Coral, Orange, Blue, Green, Purple, Yellow and Pink
Imagine Crafts® /Tsukineko® StāzOn® Midi Inks in Emerald City and Blue Hawaii
Imagine Crafts® InkBlushers
Dylusions® Small Journal
Black Medium Pen

Here's what I did to create these pages:

Smoosh blushers on journal pages until no more ink comes off
Stamp images as shown (I stamped off with every other small blossom)
Write quote with pen


Remember to comment on as many posts as you can. You can comment until the end of Sunday, May 25, 2014. We'll draw three random blog posts from all the posts this week, then choose a winner from each post. You must have a US Mailing address to win, although we sure hope all of you will comment! You can find the Official Rules for all our contests HERE. We'll announce winners here on Monday or Tuesday next week, so be sure to check back with us. (or subscribe to our blog by email at the top of this page!) If you missed the earlier posts this week, it's not too late to comment on those. You can find them here: MONDAY, TUESDAY, WEDNESDAY, THURSDAY. Check out this inspiration today - remember to leave a comment!

Stampendous Blog

Imagine Crafts Blog

Kristine Reynolds

Darsie Bruno

Janelle Stollfus

Nancy Hawes

Jamie Martin

John Creighton Petersen

Krissy Fossmeyer

Tobi Crawford

Tenia Nelson

Wendy Price

Rhea Weigand

Lea Kimmel (me)

Suzanne Czosek

So that's it for me today.  I hope you've enjoyed my projects and have left comments to be eligible to win a prize!  Thanks for stopping by and I'll see you again very soon!

Hugs,
Lea

  ***Blog Hop Hint - if you click on a link that takes you to a page saying something like, "Sorry this page cannot be found," just click on the header at the top of the blog (usually a picture, or the blog's name), and it will take you to that blog's most recent post. That post *should* be our hop. If not, you can probably scroll down a short way to find the hop post.  
 

Thursday, May 22, 2014

Happy Colors for a Happy Card!


Stampendous and Imagine Crafts Header

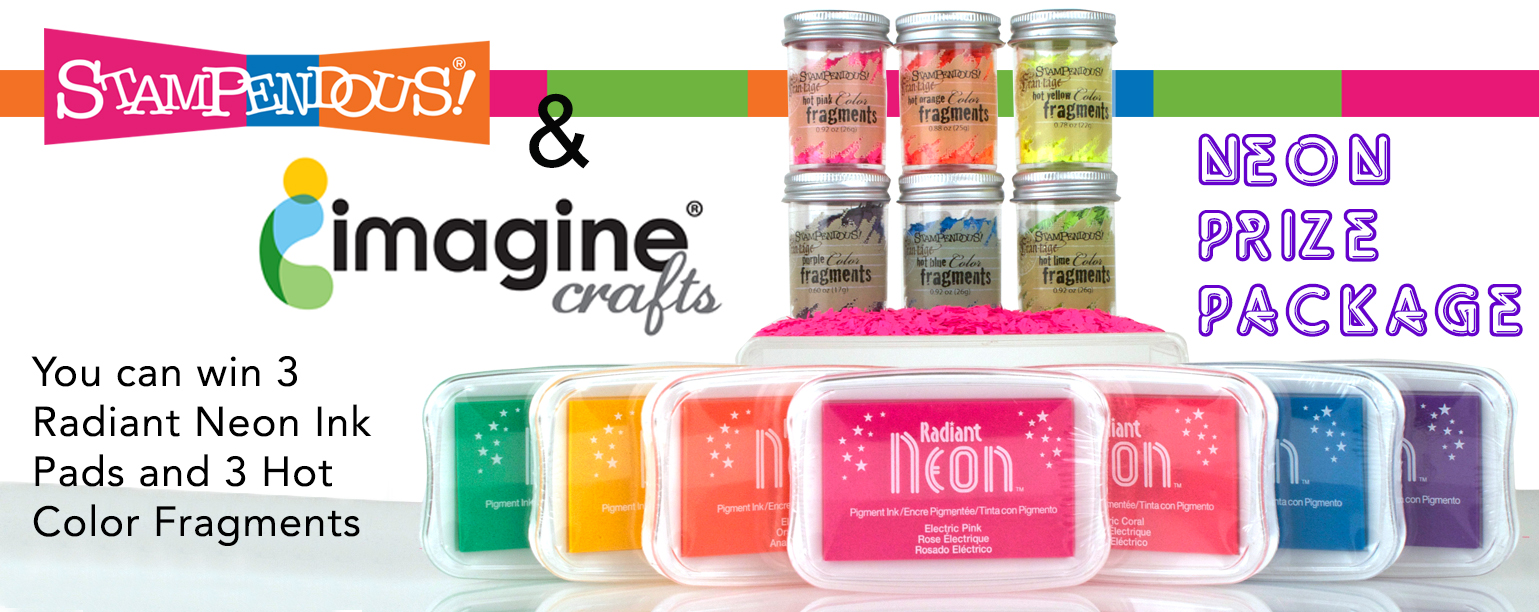
 We're back with Day 4 of our wonderful collaboration with the folks at Imagine Crafts! This terrific company has been so good as to supply us with some amazing inks. They generously support all of our events, so we are super excited for this opportunity to really showcase their products! Our focus this week is on the luscious Radiant Neon inks, but Imagine Crafts also supplies us with the must-have StazOn for stamping permanently on non-porous surfaces like glass and metal, the can't-live-without Memento inks for using with our Spectrum Noir and Copic markers, and the ooooh-wow-love-it VersaFine inks - our total favorites for use with Perfectly Clear Stamps. We are so super lucky! We got to feature the StazOn inks in our blog hop with ICE Resin earlier this month. Don't worry, we'll be featuring the other inks as the year goes on. Lots of chances for you to win. Speaking of winning!! We've got some Radiant Neon inks to give away with our wonderful Fran•táge Color Fragments! We'll give three prize packages (we choose the colors) randomly drawn from the comments on all the blog posts this week.

  STM Imagine Crafts Prize Package

 These inks are just as brilliant and opaque on paper as they are in the package! You'll be so pleased with them. Look at this terrific sample from Design Team Member Kristine Reynolds:

Neon Daisy by Kristine Reynolds
Neon Sunflower by Kristine Reynolds

There's a fantastic step-by-step tutorial for it on her blog HERE.

Here's the card I created for today:


Here's what I used to create this card:

Stampendous® PenPattern Flower
Stampendous® Spanish Loving Messages PCS
Imagine Crafts®/Tsukineko® Radiant Neon™ Inks in these "Electric" colors: Coral, Orange, Blue, Green, Purple, Yellow and Pink
Neenah® Classic Crest™ Solar White
Cosmo Cricket™ DeLovely™ 6x6 Paper Pad
Bazzill® Cardstock
May Arts Ribbon®
Zip Dry™ Adhesive

Here's what I did to create this card:

Stamp flower twice with each color on white cs
Create card base with a tent fold
Trim patterned paper as shown
Trim stamped paper as shown
Cut a piece of ribbon long enough to wrap around patterned paper and image
Adhere ribbon and layers as shown
Stamp sentiment on scrap of blue paper and attach with foam mounting squares

Here's who is hopping today:

Stampendous Blog

Imagine Crafts

Sharon Morrison

Janelle Stollfus

Naghma Husain

Wendy Price

Baerbel Born

Lea Kimmel (me)

Emily Lanham

Thanks for stopping by today.  I hope you're enjoying our blog collaboration and will come back tomorrow for the big hop!  See you then!

Hugs,
Lea

***Blog Hop Hint - if you click on a link that takes you to a page saying something like, "Sorry this page cannot be found," just click on the header at the top of the blog (usually a picture, or the blog's name), and it will take you to that blog's most recent post. That post *should* be our hop. If not, you can probably scroll down a short way to find the hop post.

Baaa...


The Dream Team is ready to inspire you with some extra fun this week! Not only are we posting with the Flora and Fauna challenge, we are introducing you to our THREE NEWLY RELEASED DESIGNS...our Owl Buddy, the Open Sheep, and the art nouveau-inspired Heron, which you had a sneak peek at two weeks ago on theDream It Up! blog. Three lucky commenters on the Dream Team's posts will receive one of these designs to be announced on the Dream It Up! blog next week. Tell us in your comment which technique YOU would use with your favorite of these new designs.

Here is what I created this week...


Here's what I used to create this card:

Bazzill® Cardstock
Pebbles™ "Garden Party™" 6x6" Paper Pad
Copic® Markers E25, 31, 40, 41, 42; YG17, 25; B0000
May Arts Ribbon®
Queen & Co® Pearls
Zip Dry™ Adhesive
Foam Mounting Squares

Here's what I did to create this card:

Paste emboss sheep, set aside to dry
Create card base with a tent fold
Trim patterned papers as shown
Once sheep is dry, add shading to sheep and background with markers
Trim to desired size
Cut ribbon to fit
Adhere all layers and ribbon as shown
Color pearls with marker and attach to lamb

Ready for more ideas? Check out our this week's team players:
Thanks for stopping by today and feel free to check out my Stampendous post for today as well.  Have a wonderful day!

Hugs,
Lea