Showing posts with label ColorBox. Show all posts

Thursday, August 13, 2015

Oh, That Mouse!

It’s Stampendous Dreamweaver Thursday and we’re continuing the theme of Mousey Mischief!  This cute little House-Mouse® has been digging in the potted plant and knocked some dirt out!  It makes for a nice resting spot though!  LOL!  I just love these cute mice!  Here’s my card for today’s post:


Here’s what I used to create this card:

Stampendous® Dreamweaver Stencil LX 7014 Daisy Background
Stampendous® House-Mouse® Designs Potted Mouse
Stampendous® Mixed Media White Paper
Stampendous® Bronze Crushed Glass Glitter
Memento™ Tuxed Black Ink Pad by Tsukineko®
Copic® Markers - E0000, E00, E01, E02, E11, E95, E23, E97, E99, E08; T2, T4, T6; B32, B34, B37;; Y11, Y13, Y17; YG61, YG63, YG67, YG95; V91, V93
ColorBox® Primary & Soft Pastels Chalk Ink Pads
Light Blue Cardstock by Bazzill Basics Paper®
Yellow 1.5 Inch Sheer/White Stitched Edge Ribbon by May Arts®
Zip Dry™ Paper Glue by Beacon Adhesives

Here’s what I did to create this card:

Tape stencil down on white paper and using sponge daubers, add inks
Remove stencil and trim to 5.25” x 4”, set aside
Stamp image with black ink on clean section of same white paper
Color with markers and trim closely as shown
Create an A2 card base with a tent fold from light blue cardstock
Cut a mat to fit stamped image from same light blue cardstock as base
Using a paper distresser, distress edges of stenciled piece, stamped image and mat for image
Slightly distress edges of card base randomly around the three open edges
Trim a piece of yellow ribbon to fit and adhere across stenciled piece as shown
Adhere stenciled piece to card base
Adhere stamped image to mat and then to card front
Using a small amount of glue, add a sprinkling of bronze glass glitter, shake off excess and set aside to dry

Here’s the list of my teammates playing along today:


Thanks so much for stopping by today!  I’m so happy with this card, I’m going to enter it in the House-Mouse® & Friends Monday Challenge!  I’ll see you again tomorrow with another fun card showcasing these mischievous mice!  Until then…

Hugs,
Lea


Thursday, November 20, 2014

Fall Blessings

If you're looking for my Stampendous/Spellbinders post, you can find it here.  Thank you!

As we officially head into the holiday season, the Dream Team is challenging all of our followers to be especially "Thankful and Thoughtful" during the month of November. We hope that you will link your creations with this theme in mind on the Dream It Up! blog using the Inlinkz tool. Our "thanks" to you is providing you with the opportunity to win the stencil of your choice, and a bonus stencil of our choosing could be yours for using Dreamweaver product(s) in your artwork. I'm posting this for you today:


I wanted to do a mini canvas for my bookcase so I created this 6"x6" canvas I'll sit on an easel.  I've had this particular idea knocking around in my head for a few weeks so I was happy to get it created and see it turn out just as cool as I imagined it to be.  

Here's what I used to create this canvas:

Clearsnap® ColorBox® Chalk Paintbox® - Primary Pastels
Clearsnap® ColorBox® Chalk Petal Point® - Autumn Pastels
Tim Holtz® Distress Ink - Antique Linen
Micron® Pen - Black
Artist's Loft™ Canvas Board

Here's what I did to create this canvas

Using sponge daubers, randomly ink leaves around canvas using only yellow, orange, and red tones from the two ink palettes
For each large maple leaf only, replace stencil and loosely outline each leaf following the shape of the stencil but not running your pen against the edge of the stencil
Write your sentiment as shown
By the way, the Dream Team are very THANKFUL when our followers are THOUGHTFUL enough to leave us a nice comment on our posts! Here's the "A" team lineup for this week, as well as our very special guest designer, Linda Neff!

That's it for me today!  Thanks for stopping by and I'll have another post for you over the weekend.  In the meantime, have a wonderful day!

Hugs,
Lea


Thursday, November 6, 2014

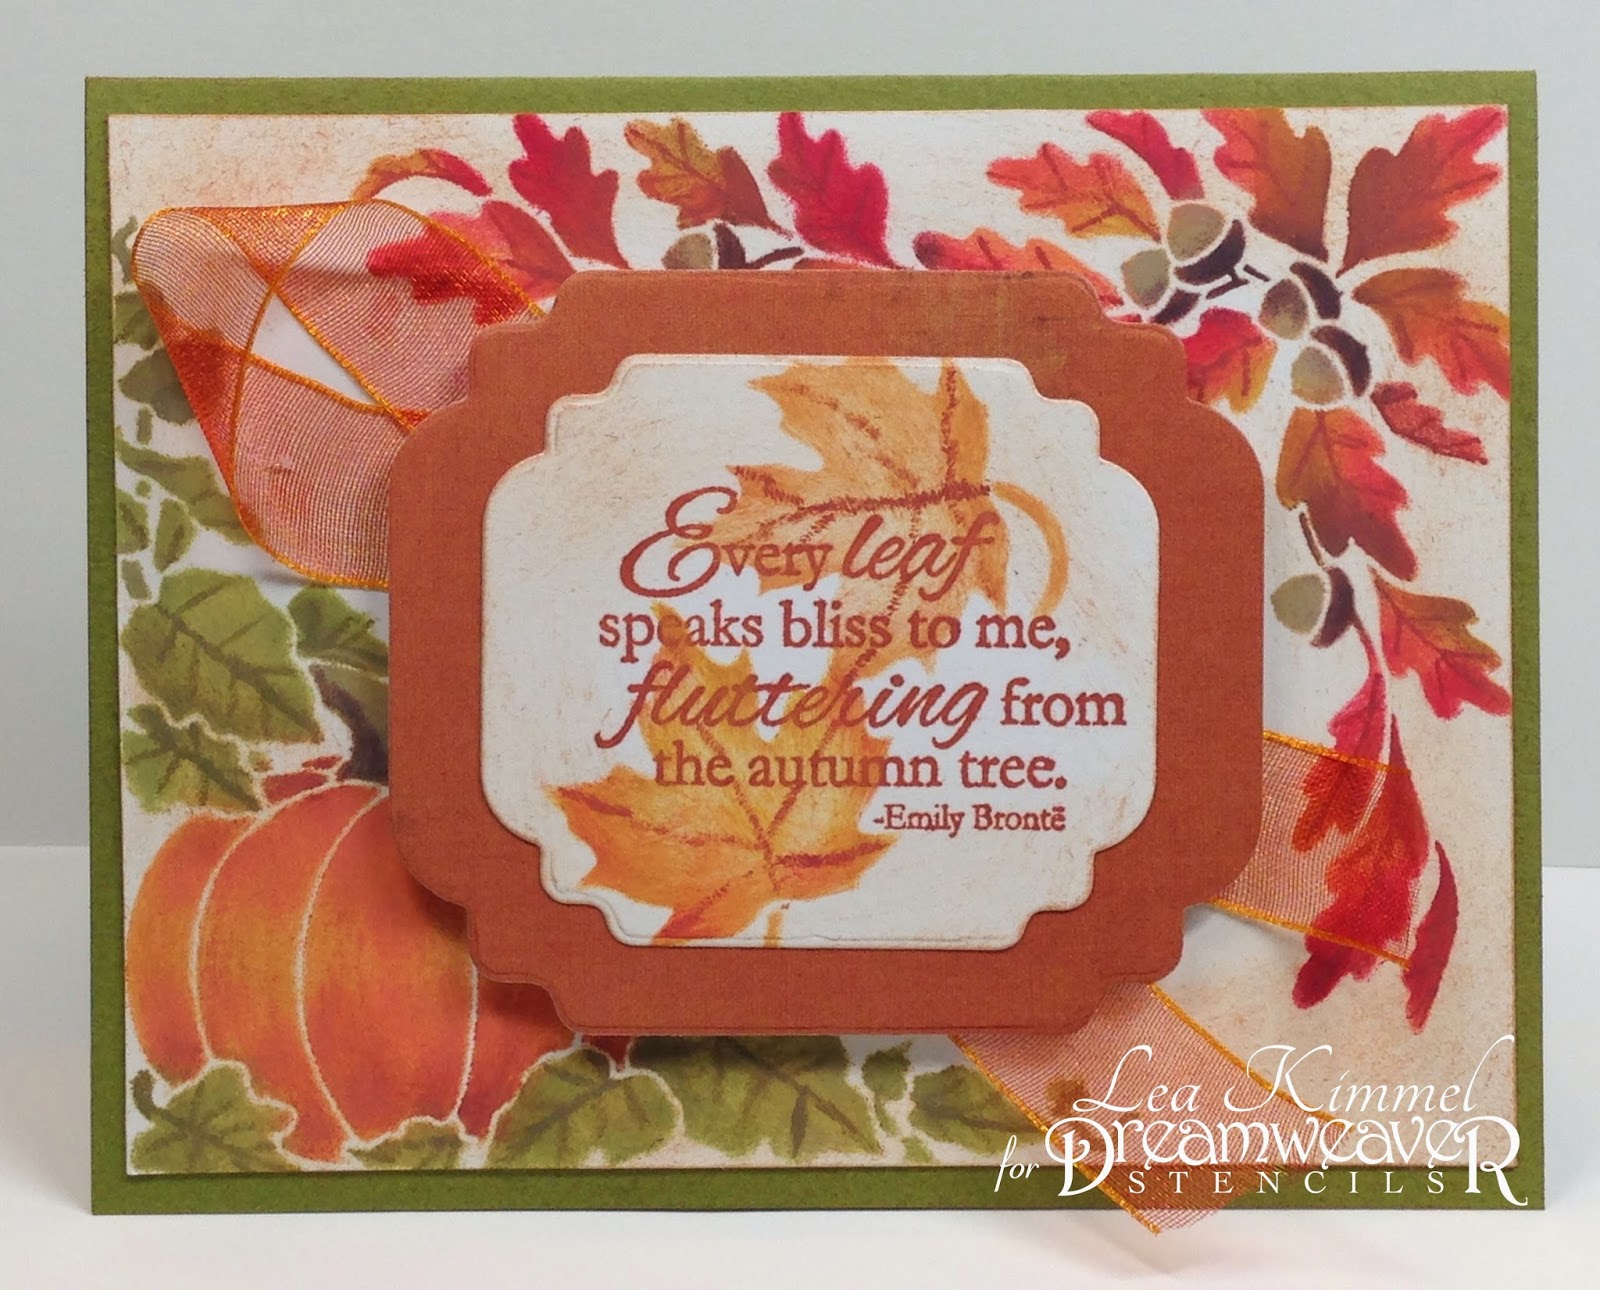
Thoughtful Fall

As we officially head into the holiday season, the Dreamweaver Stencils Dream Team is challenging all of our followers to be especially "Thankful and Thoughtful" during the month of November. We hope that you will link your creations with this theme in mind on the Dream It Up! blog using the Inlinkz tool. Our "thanks" to you is providing you with the opportunity to win the stencil of your choice, and a bonus stencil of our choosing could be yours for using Dreamweaver product(s) in your artwork. I'm posting this for you today:


Here's what I used to create this card:

Authentique™ 6x6 Bundle Thankful Collection
Neenah® Classic Crest™ Natural White
Green Cardstock by Bazzill Basics Paper®
ColorBox® Fluid Chalk Paintbox® Inks - Primary Pastels 
ColorBox® Fluid Chalk Petal Point® Inks - Autumn Pastels
Tim Holtz® Distress Ink - Tea Dye
May Arts Ribbon®
Zip Dry™ Paper Glue by Beacon® Adhesives
Scrapbook Adhesives® 3D Foam Squares

Here's what I did to create this card:

Tape stencil down onto natural white cover stock, using stencil brushes, ink design
Trim stenciled image to desired size
Stamp sentiment, die cut and stencil leaves over sentiment
Using a stiff flat brush, add detail to leaves on both images
Die cut mat for sentiment and adhere the two together
Create card base from green cardstock
Adhere main stenciled image to card base
Trim ribbon, attach to card
Using foam squares, attach matted sentiment to card base over the ribbon


By the way, the Dream Team is very THANKFUL when our followers are THOUGHTFUL enough to leave us a nice comment on our posts! Here's the "A" team lineup for this week, as well as our very special guest designer, Linda Neff!


Thanks so much for stopping by today!  I hope you'll check out my teammates and possibly find a little inspiration along the way.  I'll have another post tomorrow so be sure to come back and check it out, too!  Have a wonderful day!

Hugs,
Lea


Friday, October 24, 2014

Remembering for Day of the Dead

Today is a special day.  Today is my mother's birthday.  She passed away in 1965 when I was four and she was only 28.  It doesn't seem right to pass at such a young age, but, it's not my place to say when the time is right or wrong, that's up to a much higher power than me!  Since Day of the Dead is actually a celebration of lives lived, I wanted to dedicate my card today to my mother.   By all accounts, she was a warm and loving person, a doting mother to me and an extraordinary wife to my father.  Her passing changed our family's lives forever.  There is not a day that goes by that I don't think about her, wonder about her and miss her wholeheartedly.  So, thank you for indulging me today while I reminisce.  Here's my final card for the Smeared and Smudged 31 Days of Halloween as Dreamweaver's Dream Team is  participating daily.  I know it's not spooky or creepy like most but it's for Day of the Dead and happy colors are part of the celebration!


Here's what I used to create this card:

Impression Obsession® Remember
Neenah® Classic Crest™ Solar White Cover Stock
Black Cardstock
ColorBox® Fluid Chalk Ink in Primary Pastels
Copic® Markers - YR02, 04; Y11, 15, 18, 38; YG61, 63, 67; BV11; C6; R24, 27, 29, 39, 85; E40
Sponge Daubers
Miscellaneous Flowers and Pearls
Zip Dry™ Paper Glue by Beacon® Adhesives

Here's what I did to create this card:

Tape stencil onto white cardstock
Using sponge daubers, add ink randomly around stencil, as some colors will overlap, be mindful of how the colors will mix, you don't want them to be muddy
When complete, remove stencil and trim paper to desired size, set aside
Stamp image onto white cardstock and color
Stamp sentiment below image as shown
Trim stamped image close to edges and trim a mat for image from black cardstock, adhere together
Create card base from black cardstock
Adhere stenciled design to card base
Adhere stamped and matted image to card
Adhere flowers and pearls as shown

I really wanted to do something happy for today.  I appreciate your stopping by and I have some Stampendous love I'm posting today as well so I hope you'll check out that post, too.  Thanks for stopping by and I'll see you again soon!  Have a wonderful day!

Hugs,
Lea

Thursday, July 3, 2014

The Dies Have It!

Welcome to July...the Dreamweaver Stencils© month to DIE for! Yep. All of this month, the Dream Team is featuring our newest toys...our DIES! You'd be surprised at how many we have, and what fun things you can do with them...especially when used in conjunction with many of their stencil counterparts. They are such a simple way to create an effective card. Here's mine for this week:


I didn't use the stencil that corresponds with the Pear Dies, instead I chose to go more of an artsy route and use a totally different stencil to accent my die cut pears.  I really like the final result.

Here's what I used to create this card:

Dreamweaver Stencils© Stencil LJ 927 Floral w/Dots
Dreamweaver Stencils© DL563 Pears Die Set
ColorBox® Chalk Inks from Autumn Pastels and Primary Pastels
Tim Holtz® Distress Ink™ in Vintage Photo and Shabby Shutters
Bazzill® Cardstock
Bo Bunny® Mint Dots paper
Basic Grey® “Picadilly - Farm Fresh Eggs” paper collection
Zip Dry™
Misc. Pop Dots

Here's what I did to create this card:

I cut my pears and stems out first with the dies
I lined up the Floral w/Dots stencil with each die cut pear and ran them through separately to dry emboss the design onto the pears
I lined the stencil back up on each pear and inked it with the various chalk inks
Add distress inks to each pear for shading
Create your card base in a tent fold
Trim patterned papers for layers as shown
Create sentiment on computer and print out, trim down as shown and ink edges
Adhere all layers for card
Using pop dots, attach pears and leaves

I'm sure that our "A" team is just DIE-ing to show you their creations, as well as our Guest Designer for the month of July...

and

Thanks for stopping by today, I'll see you again soon.  Have a blessed day!

Hugs,
Lea