
It's Wicked Wednesday ATC Challenge Blog time and this week our sponsor is Vera Lane Studios. I love how quirky and fun the Vera Lane images are for creating. Since the owner, Janet, was so generous with the Design Team, we each did multiple ATCs. I've used the following sets: Whimsical Mermaid, Quirky Zombie Couple and Cat, and Whimsical Princess and Frog. Our theme this week is Splatters and Sprays. I'm not going to follow my usual format this week but I will list the basic supplies used.


Zombie Cat Outside
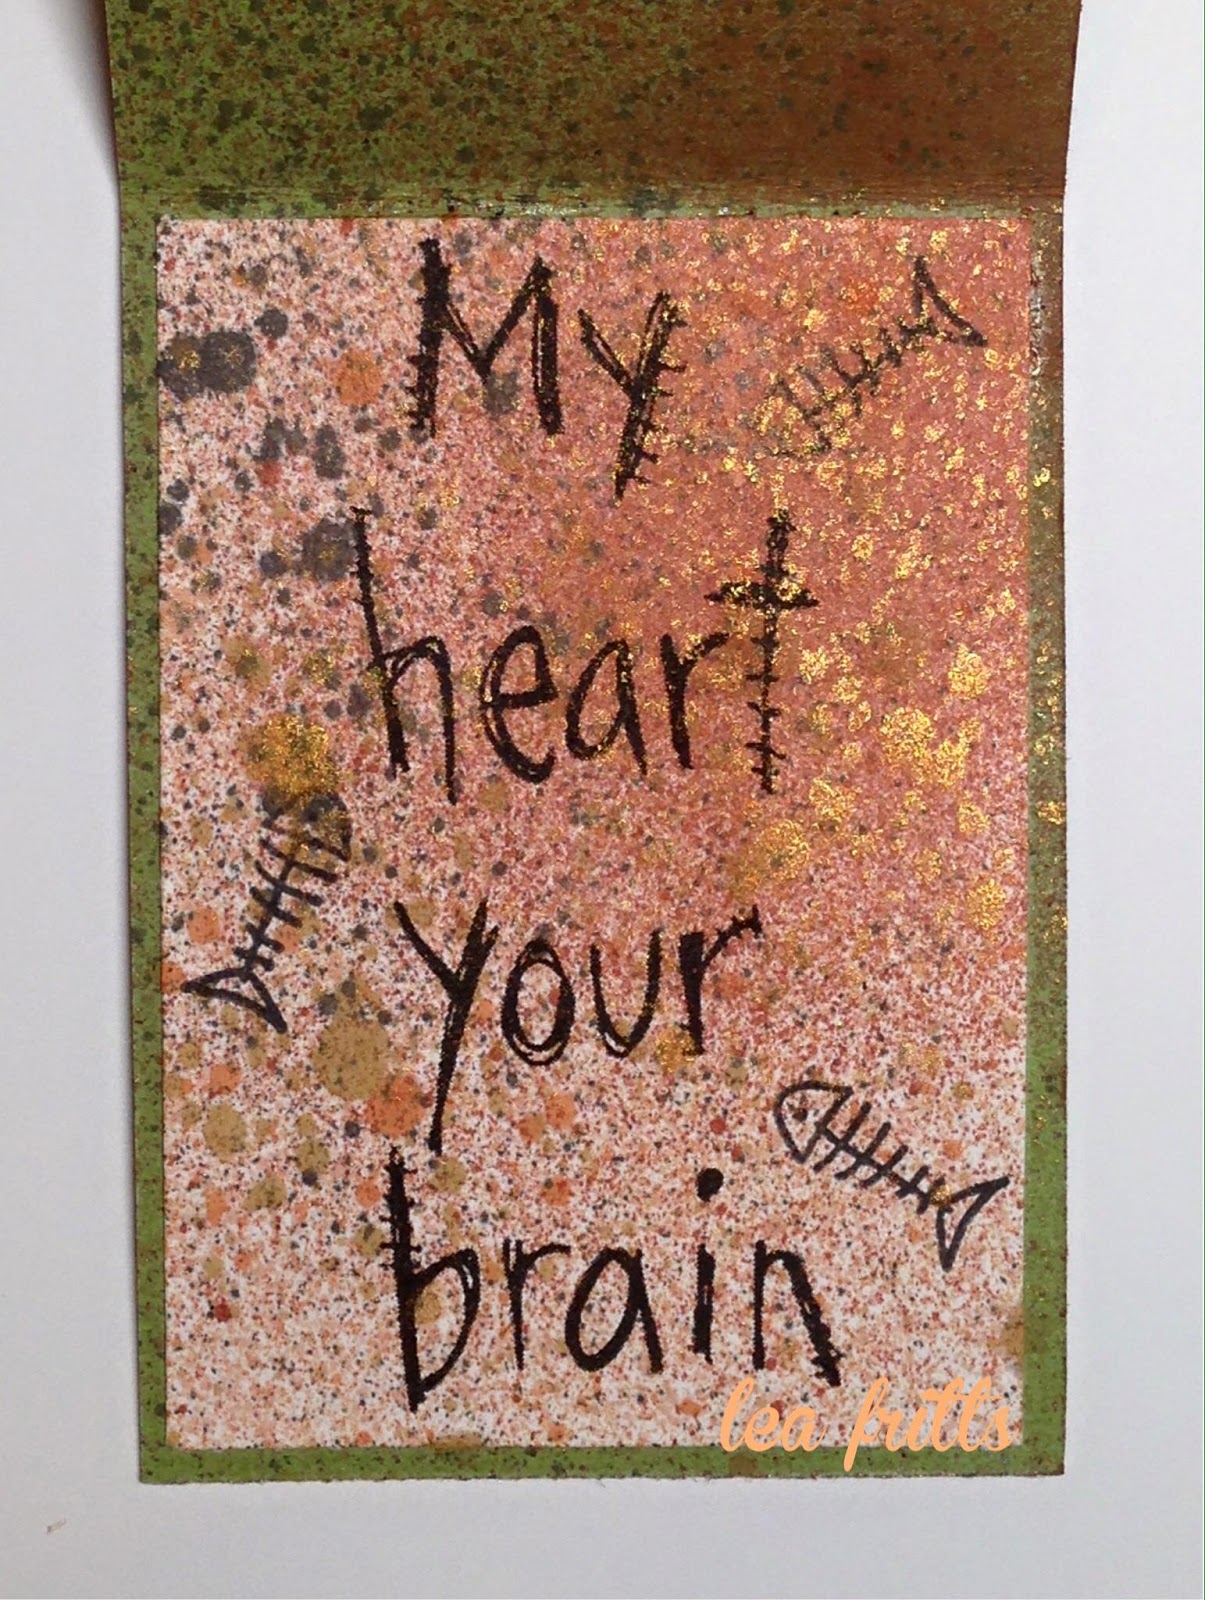
Zombie Cat Inside

Whimsical Princess and Frog

Whimsical Mermaid
These are the products I've used for all three ATCs:
Memory Box® Viola 6x6 Paper Collection
Copic® Markers
Delicata™ Golden Glitz Ink Pad by Tsukineko®
Viva Decor® Pearl Pen™ in Ice White
Artist Loft™ Watercolors
atyouSpica™ Glitter Pens
Green, Purple and Blue Cardstock by Bazzill Basics Paper®
Zip Dry™ Paper Glue by Beacon Adhesive
That's quite a list of supplies! LOL! Thanks so much for stopping by today. I hope you enjoy my projects, I had a lot of fun creating them. Come and play along with us and show us your best ATCs, I can't wait to see what you create! Have a blessed day!
Hugs,
Lea


